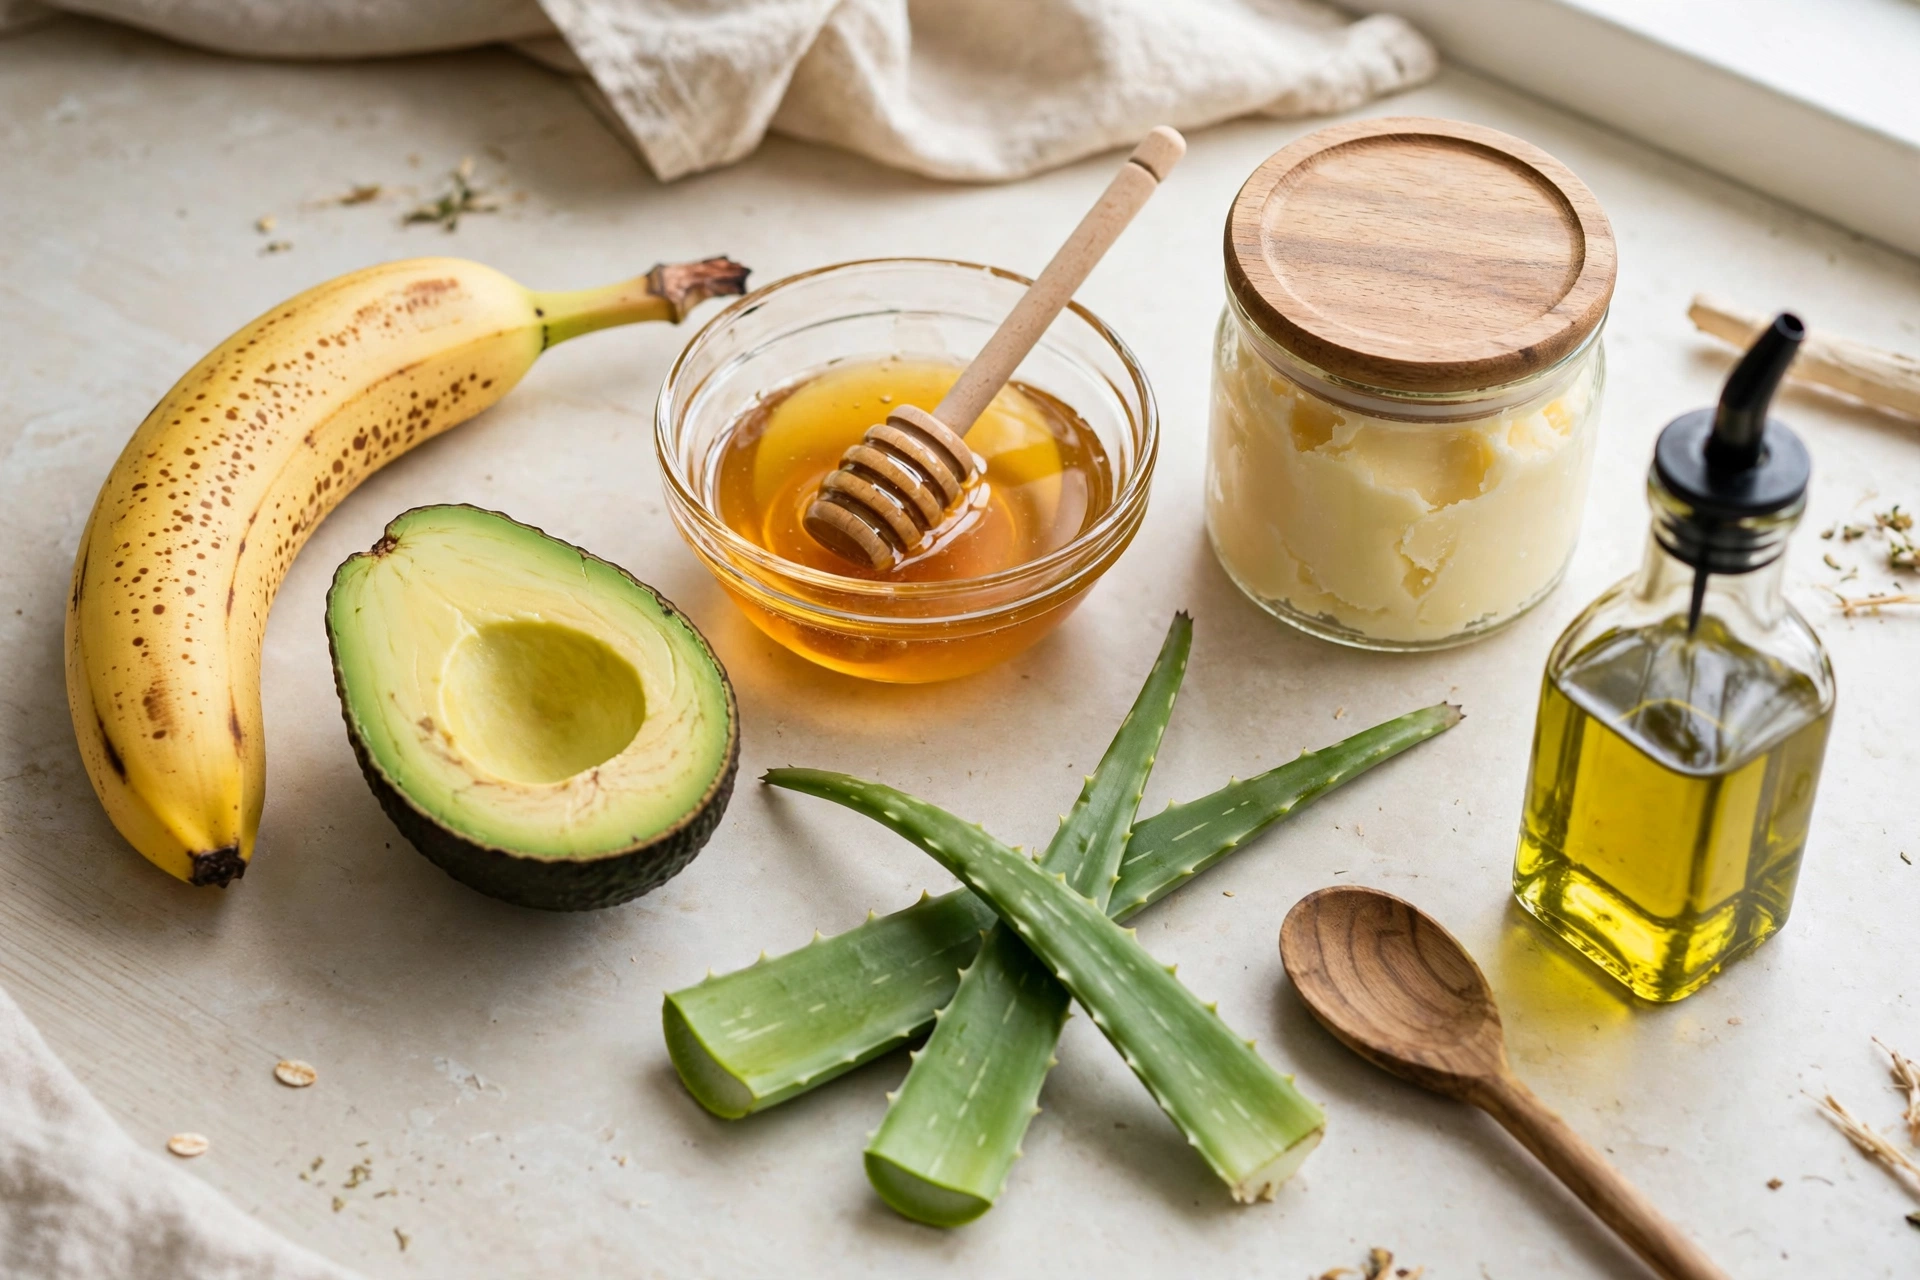
DIY Deep Conditioner for Natural Hair: 5 Honest Recipes That Actually Work
What a DIY Deep Conditioner Actually Is (and Isn’t)
A DIY deep conditioner for natural hair is a homemade mask — blended from kitchen ingredients like banana, honey, avocado, yogurt, or mayonnaise — left on the hair for 20 to 60 minutes, usually under a shower cap, then rinsed out. It is meant to do what any deep conditioner does: load the hair with moisture and conditioning agents, then seal them in so the strand stays soft, flexible, and less prone to breakage.
Here’s the honest part first: a kitchen mix is a conditioner, not a treatment. It can moisturize, soften, add slip for detangling, and temporarily smooth the cuticle. It cannot rebuild broken disulfide bonds, permanently change your curl pattern, make hair grow faster, or repair split ends (nothing does — split ends have to be cut). If you go in with those expectations, DIY deep conditioning is one of the most cost-effective things you can do for natural hair. If you expect miracles, you’ll be disappointed no matter whose recipe you follow.
The Honest Science: What Kitchen Ingredients Can and Can’t Do
Most DIY recipes online list ingredients and vaguely claim each one “nourishes” the hair. That’s not useful. Here is what each popular ingredient genuinely does, based on how hair actually works.
Ingredients with genuine benefits
Honey is a humectant — it attracts water and holds it. In a mask, honey helps the mixture cling to the hair and keeps moisture against the strand while it sits. Warm it for 10 seconds so it blends; never boil it.
Aloe vera gel sits at a pH close to hair’s natural range (around 4.5–5.5), which helps the cuticle lie flatter, and it has documented antimicrobial and anti-inflammatory properties that calm an irritated scalp.
Avocado and its oil are rich in monounsaturated fats that genuinely penetrate the hair shaft rather than just sitting on top — Healthline’s guide to avocado oil for hair covers its conditioning role. This is one of the few kitchen oils with real penetration ability.
Coconut oil is the best-studied kitchen ingredient in hair care. The Rele and Mohile study on coconut oil and hair protein loss, published in the Journal of Cosmetic Science, found that coconut oil reduced protein loss from both damaged and undamaged hair in pre-wash and post-wash treatments — an effect attributed to its low molecular weight and affinity for hair protein letting it penetrate the shaft. Mineral oil and sunflower oil did not show the same effect.
The egg and mayonnaise protein myth
This is the claim almost every DIY page gets wrong: “eggs are packed with protein, so they strengthen your hair.” Whole proteins in food — the proteins in a raw egg or a spoonful of mayonnaise — are large molecules. They are generally too large to penetrate the hair shaft the way hydrolyzed proteins (the small, broken-down proteins used in commercial protein treatments) can. What egg and mayo actually do is coat the strand, which can make hair feel temporarily thicker and smoother. That’s a real cosmetic effect — it just isn’t protein “repair,” and it rinses away.
Two more honest notes on mayonnaise: commercial mayo contains vinegar, salt, and preservatives, and some formulas include silicones or gums that can build up with repeated use. Healthline’s overview of using mayonnaise on hair is a good neutral read on the claims versus the evidence. And because mayo is an egg product, the food-safety rules below apply to it too.
What no kitchen mix can do
- Rebuild bonds. Bleach, relaxer, and heat damage breaks disulfide bonds inside the hair. No banana or egg can re-form them — only bond-building chemistry (like bis-aminopropyl diglycol dimaleate in salon treatments) works at that level.
- Deliver true protein reinforcement. Commercial protein treatments use hydrolyzed keratin, wheat, or silk proteins small enough to enter the cortex. Kitchen proteins mostly coat.
- Stay stable and safe for weeks. Fresh food spoils. Any recipe with egg, dairy, or fresh fruit must be made fresh and used immediately — no preservatives, no shelf life.
- Make hair grow faster. Hair grows from the follicle under the scalp at a genetically set rate (about half an inch a month). A mask conditions the strand you already have; it cannot speed up growth. What it can do is reduce breakage, which helps you retain the length you grow — the same honest distinction we make in our guide to growing natural hair faster.
DIY vs Store-Bought Deep Conditioner: An Honest Comparison
Neither option wins outright — they win at different things.
| DIY Deep Conditioner | Store-Bought Deep Conditioner | |
|---|---|---|
| Cost | Very low — ingredients from your kitchen | $8–$25+ per jar |
| Moisture | Excellent (honey, aloe, avocado, banana) | Excellent |
| True protein repair | Weak — whole proteins mostly coat | Strong — hydrolyzed proteins penetrate |
| Bond building | None | Available in premium formulas |
| Customization | Total — adjust per wash day | Fixed formula |
| Convenience | Messy, time-consuming, single-use | Scoop and go, lasts months |
| Shelf life | None — make fresh every time | 12–24 months, preserved |
| Best for | Regular moisture maintenance on a budget | Protein needs, damaged hair, busy schedules |
Our honest take: use DIY for your weekly moisture sessions, and keep a quality store-bought protein treatment for when your hair actually needs protein. If you want help choosing one, see our roundup of the best deep conditioners for natural hair.
5 DIY Deep Conditioner Recipes for Natural Hair
Every recipe below is single-use: blend it, apply it, rinse it, throw away any leftovers. Measurements suit medium-length natural hair — double them for long or very thick hair. A blender gives the smoothest result (no chunks); a fork works if you’re thorough.
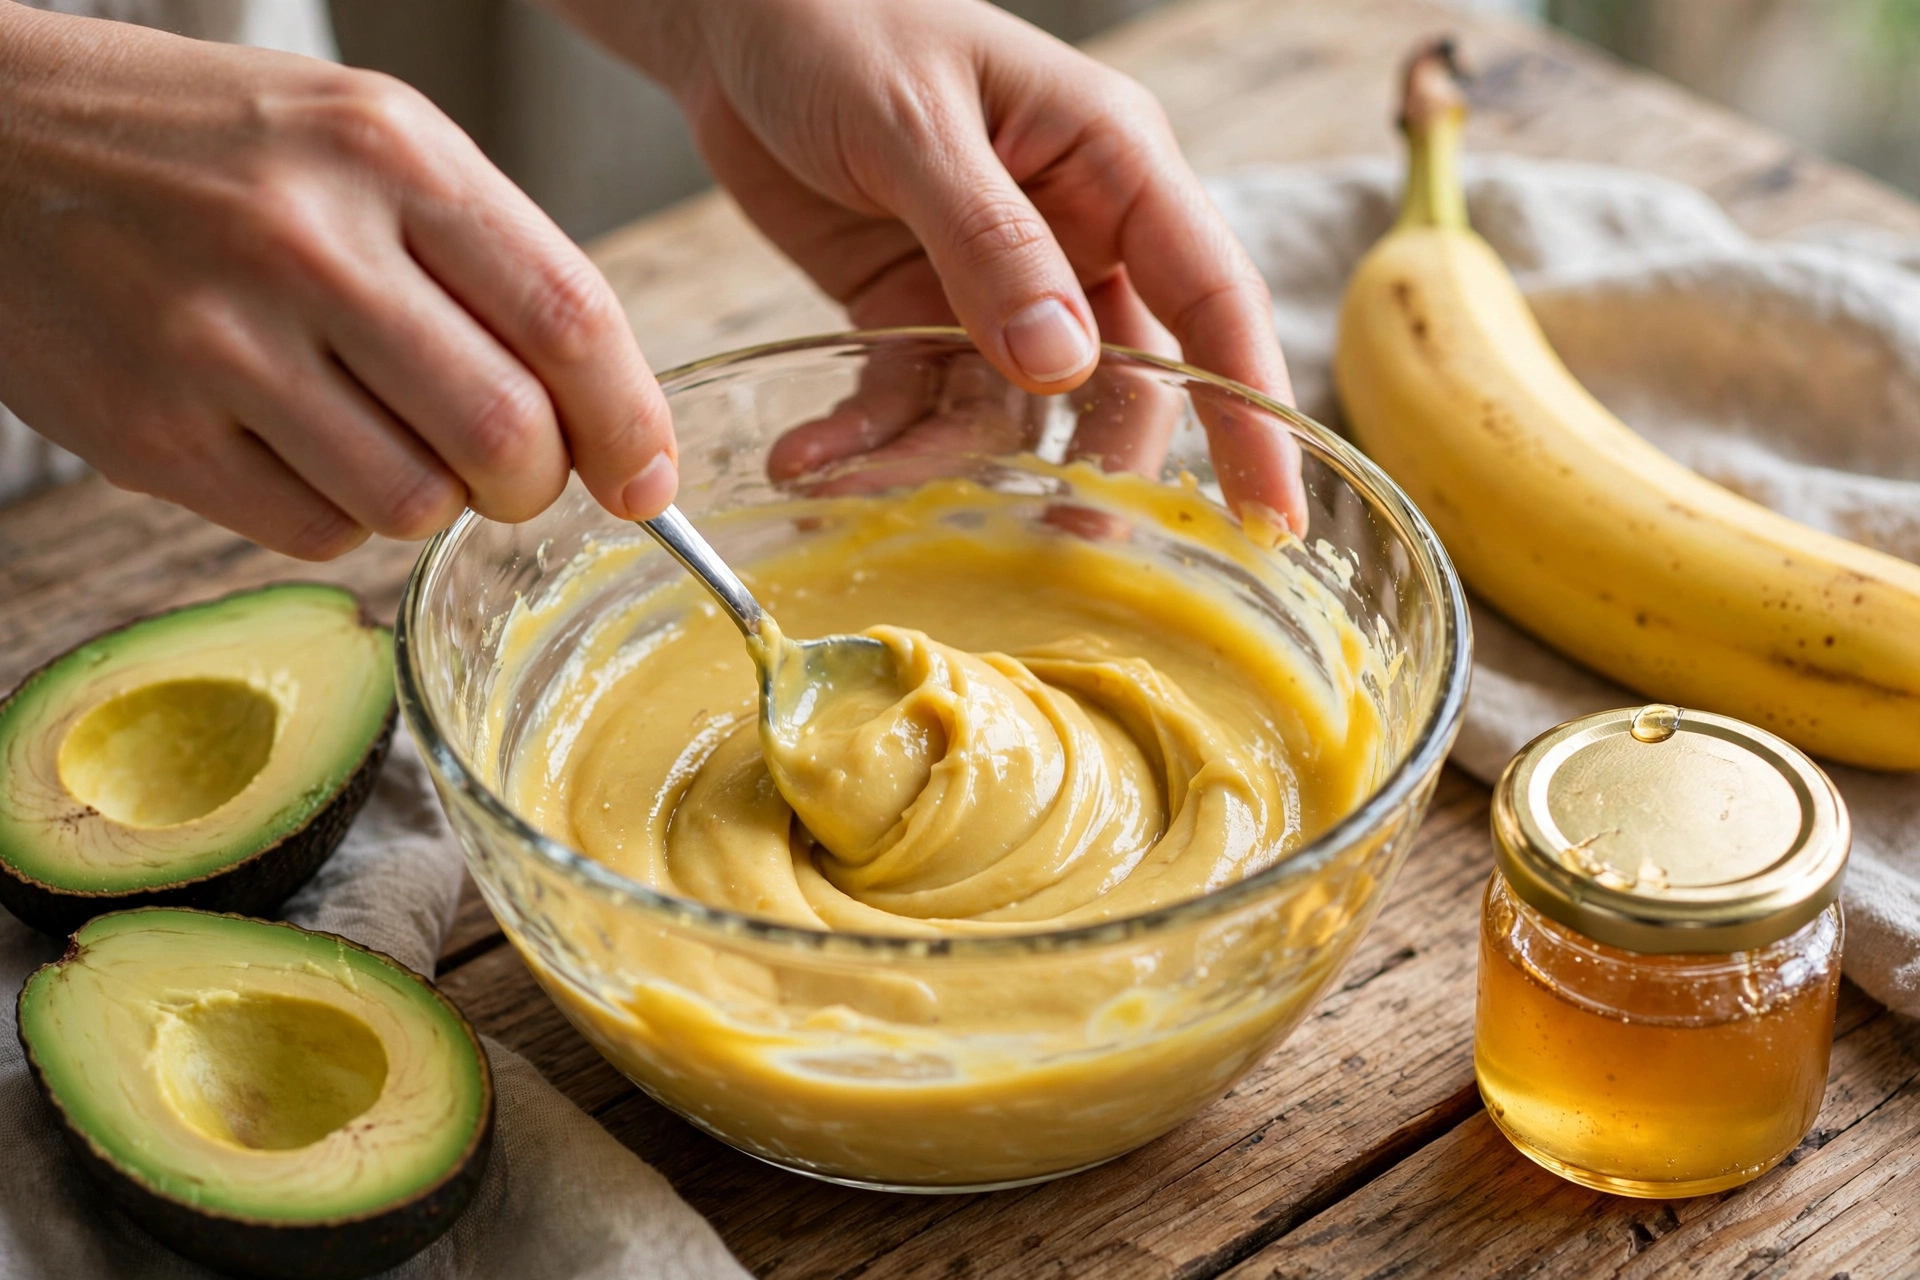
Recipe 1: Classic Banana-Honey-Avocado Moisture Mask
Best for: dry, dull natural hair of any porosity. Ingredients: 1 very ripe banana, 1/2 ripe avocado, 2 tablespoons honey (warmed 10 seconds), 2 tablespoons olive or avocado oil.
- Blend the banana and avocado until completely smooth — no chunks, or they will tangle in your coils and take forever to rinse.
- Stir in the warmed honey and oil until uniform.
- Apply to damp, freshly washed hair in 4–6 sections, ends first.
- Cover with a shower cap and leave 30 minutes (add gentle heat if you have low porosity hair).
- Rinse thoroughly with lukewarm water, then condition lightly as usual.
Honest note: banana doesn’t penetrate the strand — it coats it with sugars and softens the feel. The real moisturizers here are honey and the oils. Overripe bananas blend smoother and rinse out easier.
Recipe 2: Greek Yogurt Protein-Leaning Mask
Best for: high-porosity or damaged hair that feels mushy when wet and needs light protein. Ingredients: 1/2 cup plain full-fat Greek yogurt, 1 tablespoon honey, 1 tablespoon olive oil.
- Whisk the yogurt smooth, then stir in honey and oil.
- Apply to damp hair in sections.
- Leave 20 minutes under a shower cap — no heat needed.
- Rinse with lukewarm water and follow with a moisturizing conditioner.
Honest note: yogurt’s proteins are still large molecules, so this is a light protein treatment at best — gentler than an egg mask, and the lactic acid gives mild cuticle smoothing. Don’t use it more than every 2–3 weeks; too much protein without moisture makes hair stiff and brittle.
Recipe 3: Mayonnaise, Honey & Olive Oil (the Classic)
Best for: a quick pantry deep conditioner when you have nothing else. Ingredients: 4 tablespoons plain mayonnaise (not sweetened “salad dressing” style), 2 tablespoons honey, 2 tablespoons olive oil, 1 tablespoon apple cider vinegar.
- Mix everything in a bowl until completely smooth.
- Coat the ends first, then work up the length — keep it off the scalp if you’re prone to buildup.
- Shower cap, 20 minutes, then rinse very thoroughly. You may need to shampoo twice.
Honest note: this works because mayo is mostly oil and egg — an oil-rich coating with mild acidity from the vinegar for shine. It will not “rebuild” anything. If commercial mayo irritates your scalp, skip it; the preservatives and fragrance in some brands aren’t scalp-friendly.
Recipe 4: Conditioner Booster (Aloe + Honey)
Best for: low-porosity hair that hates heavy kitchen mixes, and beginners. Ingredients: 1/2 cup of your regular silicone-free conditioner, 2 tablespoons pure aloe vera gel, 1 tablespoon honey.
- Warm the honey 10 seconds, then stir it and the aloe into the conditioner.
- Apply to damp hair in sections.
- Leave 15–30 minutes under a shower cap, rinse, and style as usual.
Honest note: this is the easiest win on the list — you’re upgrading a proven formula instead of inventing one. The aloe lowers the mix’s pH slightly and the honey adds humectancy. Rinses out cleaner than any food-based mask.
Recipe 5: 4C Intensive Shea-Avocado Mask (With Heat)
Best for: 4c hair that drinks up moisture and still feels dry — pair it with your 4c hair care routine. Ingredients: 1/4 cup raw shea butter (softened, not melted), 2 tablespoons avocado oil, 2 tablespoons honey, 2 tablespoons aloe vera gel.
- Whip the softened shea with the oils, honey, and aloe until uniform.
- Apply to damp, detangled hair in 6–8 small sections, smoothing down each one.
- Cover with a shower cap and sit under a hooded dryer or steamer for 20–30 minutes — heat matters here, because 4c cuticles (especially low-porosity 4c) need warmth to lift and absorb.
- Rinse with lukewarm water and follow with a leave-in.
Honest note: shea is an occlusive — it seals rather than moisturizes, so it only works on hair that’s already damp. Applied to dry hair, it just sits there. A hot oil treatment before this mask is a great pairing for very dry 4c hair.
How to Apply a DIY Deep Conditioner: 7 Steps
The recipe matters less than the method. A perfect mask applied wrong does nothing; an average mask applied right works beautifully.
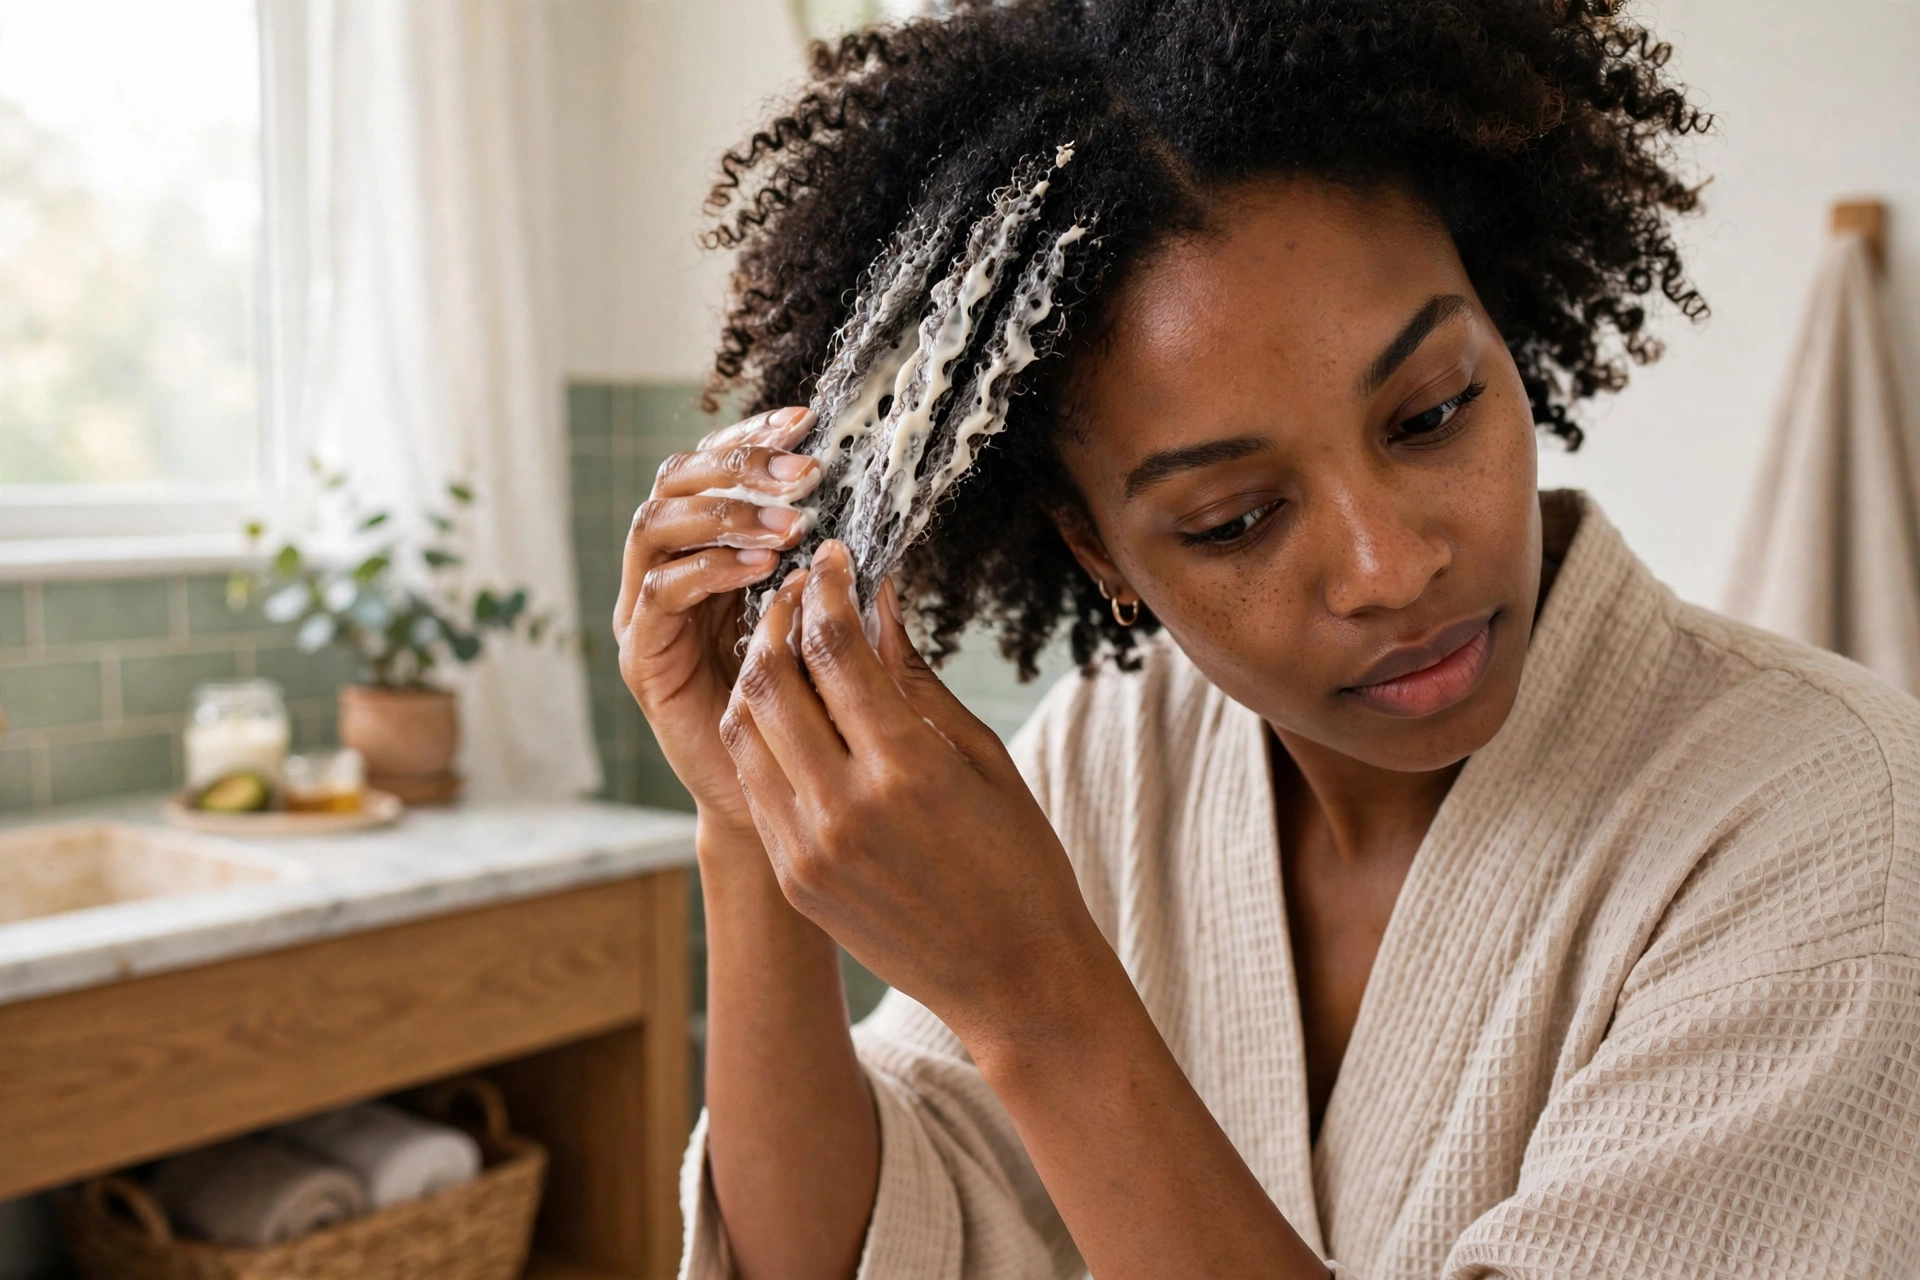
Step 1: Start with clean, damp hair
Shampoo first. Product buildup blocks everything — conditioner can’t condition through a wall of old gel and oil. Squeeze out excess water so the hair is damp, not dripping.
Step 2: Section your hair
Divide into 4–8 sections (more sections for thicker or 4c hair) and clip each one. Working section by section is the difference between “conditioned hair” and “conditioned top layer with dry patches underneath.”
Step 3: Apply ends first, roots last
The ends are the oldest, driest part of your hair. Coat them generously, then work upward. Keep heavy oil-based masks off the scalp unless the recipe is scalp-focused — buildup on the scalp causes itching and flakes.
Step 4: Detangle gently while it’s on
Use the slip from the mask to finger-detangle each section, then follow with a wide-tooth comb from ends to roots. This is the safest detangling window you’ll get all week.
Step 5: Add heat with a shower cap
Cover with a plastic shower cap — the trapped body heat gently lifts the cuticle so moisture can enter. For low-porosity hair this step is non-negotiable: add a warm towel over the cap or sit under a hooded dryer. Not sure of your porosity? Take our natural hair porosity test first — it changes everything about how you condition.
Step 6: Time it right — 20 to 30 minutes
More time is not more conditioning. After about 30 minutes, absorption plateaus; leaving a mask on for hours (or overnight) mostly risks scalp irritation, hygral fatigue from prolonged swelling, and — with egg mixes — a hygiene problem. Set a timer.
Step 7: Rinse with lukewarm water, then seal
Hot water strips the lipids you just deposited; cold water won’t rinse food particles well. Lukewarm is the sweet spot. Follow with a light leave-in or a few drops of oil to seal — conditioning without sealing is like filling a bucket with a hole in it.
How Often Should You Deep Condition Natural Hair?
It depends on your hair’s condition, not a universal rule. Use this as a starting point:
| Hair type / condition | DIY moisture mask | Protein treatment |
|---|---|---|
| Healthy natural hair, medium porosity | Once a week | Every 4–6 weeks |
| Dry, high-porosity hair | Once a week (consider twice during recovery) | Every 2–3 weeks |
| Low-porosity hair | Every 1–2 weeks, always with heat | Rarely — only if hair feels mushy when wet |
| 4c hair (often dry by default) | Weekly, with heat | Monthly, light formulas only |
| Chemically treated or heat-damaged | Weekly | Every 2 weeks (use a real hydrolyzed-protein product) |
How do you know whether you need moisture or protein? Do the stretch test: take a shed hair, wet it, and gently stretch it. If it stretches a lot then snaps, you need protein. If it barely stretches and snaps immediately, you need moisture. If it stretches slightly and returns, your balance is fine — keep doing what you’re doing.
7 Mistakes That Ruin a DIY Deep Conditioner
- Leaving banana chunks in the mix. They tangle into coils and take multiple washes to remove. Blend until silky — overripe bananas blend best.
- Heating a mix that contains raw egg. Warm egg on your head is a food-safety risk and partially cooking it makes it nearly impossible to rinse out. Never microwave egg-containing recipes.
- Leaving it on overnight. Nothing good happens after 30–60 minutes. Overnight sessions invite scalp irritation, matting, and bacterial growth in food-based mixes.
- Rinsing with very hot water. It strips the conditioning agents you just applied. Lukewarm, always.
- Using protein masks too often. Protein overload makes hair stiff, dry, and prone to snapping — the exact opposite of what you wanted. Alternate moisture and protein; don’t stack them.
- Applying heavy masks to the scalp. Unless you’re doing a dedicated scalp treatment, keep thick butters and mayo off the scalp to avoid clogged follicles and itching.
- Expecting growth from a mask. A deep conditioner reduces breakage so you keep your length — it doesn’t grow hair. Anyone promising “2 inches in a week” from a kitchen mask is selling something.
Food Safety Rules for Kitchen Hair Recipes
Hair recipes use food, so food rules apply:
- Make it fresh, every time. Anything with egg, dairy, or fresh fruit has no preservatives. Blend it, use it within an hour, discard leftovers. Never store an egg or dairy mask “for next week.”
- Never heat raw-egg mixes. Salmonella risk is real, and warm egg cooks onto hair. If a recipe contains egg, keep it at room temperature or cooler.
- Patch test new ingredients. Kitchen doesn’t mean hypoallergenic — people react to avocado, honey, and essential oils too. Dab a little on your inner arm and wait 24 hours before a full application.
- Dilute essential oils properly. A few drops per batch, never undiluted on skin. Peppermint and tea tree oils can burn an irritated scalp at full strength.
- Keep it out of your eyes. Vinegar, citrus, and essential oils sting. Rinse immediately with water if any gets in your eyes.
Frequently Asked Questions
Can I leave a DIY deep conditioner on overnight?
You shouldn’t. Absorption plateaus after about 30 minutes, so overnight adds no benefit — but it does add risk: scalp irritation, matted tangles, and bacterial growth in food-based mixes. Set a timer for 20–30 minutes and rinse.
Does mayonnaise really work as a deep conditioner?
It works as a coating conditioner, not a repair treatment. Mayo is mostly oil and egg, so it softens and adds shine the way any rich oil mask would. It won’t rebuild protein structure, and commercial mayo’s preservatives and fragrance can irritate sensitive scalps. It works in a pinch — it’s just not magic.
Is egg actually good for hair, or is it a myth?
Half myth. Egg proteins are whole, large molecules that mostly coat the hair rather than penetrating it like the hydrolyzed proteins in commercial treatments do. Your hair will feel smoother and look shinier after an egg mask — a real cosmetic effect — but no structural repair is happening underneath.
Which homemade deep conditioner is best for 4c hair?
4c hair does best with moisture-heavy masks plus heat — Recipe 5 above (shea, avocado oil, honey, aloe under a hooded dryer) is built for it. The key for 4c is small sections, damp hair, and genuine heat to lift the cuticle; without heat, low-porosity 4c hair barely absorbs anything.
Can I use a DIY deep conditioner on low porosity hair?
Yes, but adjust the method: apply to damp hair, use lighter recipes (like the conditioner-booster, Recipe 4), and always add heat — a shower cap plus a warm towel or hooded dryer. Heavy butters without heat will just sit on low-porosity strands.
How do I get banana out of my hair?
Prevention beats cure: use overripe bananas and blend until completely smooth. If chunks are already stuck, don’t panic — soak the hair, add a slippery conditioner, and gently work the pieces out with your fingers section by section. Never try to comb dry chunks out of dry hair.
Is a DIY deep conditioner better than a store-bought one?
For weekly moisture on a budget, DIY is excellent and hard to beat on cost. For real protein repair, damaged hair, or convenience, store-bought wins — commercial formulas use hydrolyzed proteins, bond builders, and preservatives that no kitchen can replicate. Most people do best with both: DIY for moisture, store-bought for protein.
Can a DIY deep conditioner help my hair grow?
Not directly — nothing applied to the strand changes your growth rate, which is set by genetics at the follicle. But breakage is the reason many people never see their growth. A good deep conditioning routine reduces breakage, so you retain more of the length you grow. That’s the honest version of every “hair growth mask” claim.
Disclaimer: This article is for informational purposes only and isn’t medical advice. Kitchen ingredients can cause allergic reactions — patch test before use, and see a dermatologist if you have persistent scalp issues, unusual shedding, or hair loss. The American Academy of Dermatology’s guidance on caring for Black hair is a good authority source for textured-hair care basics.