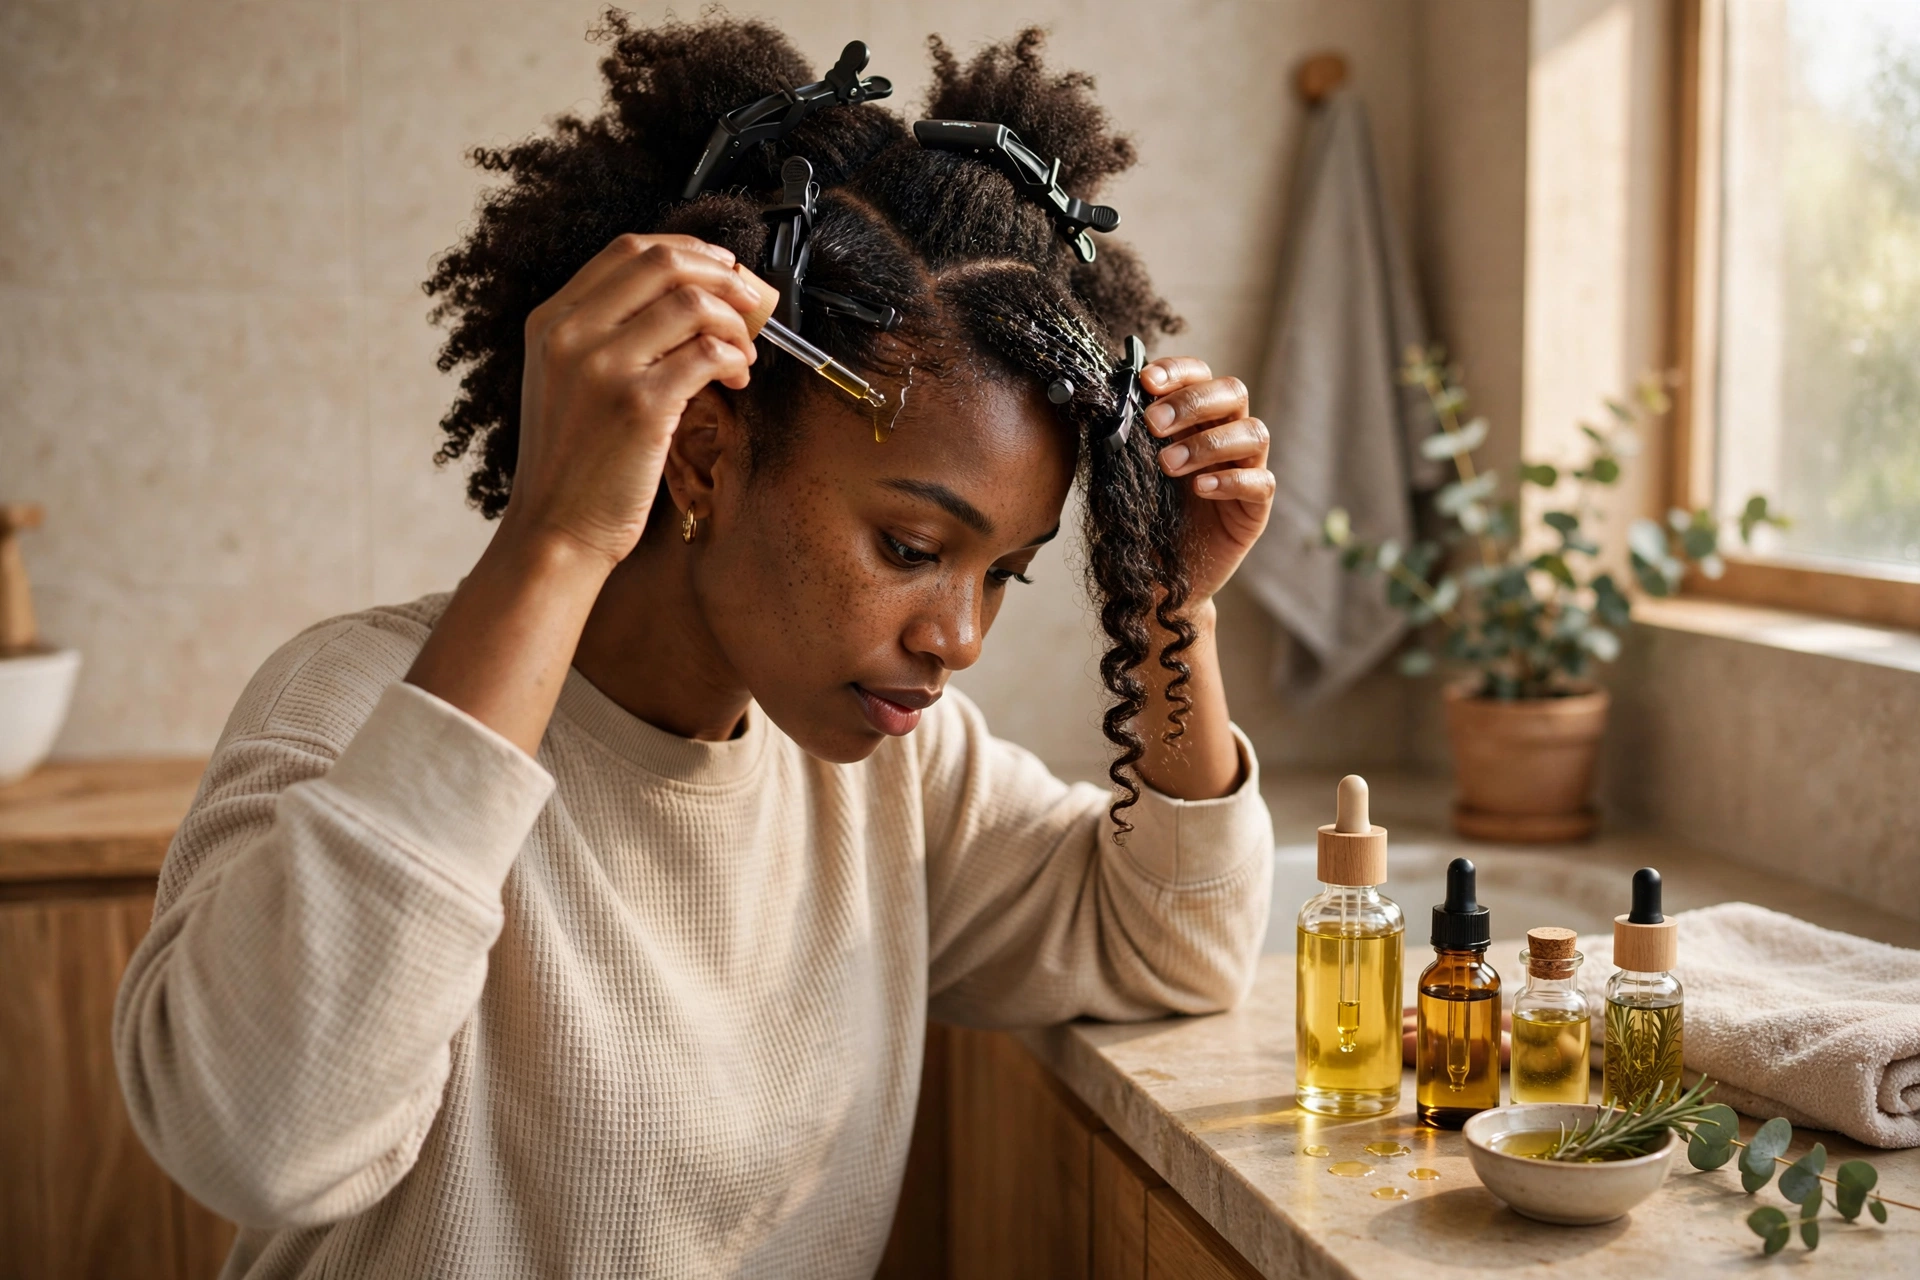
Pre-Poo Treatment for Natural Hair: What It Is, How to Do It Right & 3 DIY Recipes
What Is a Pre-Poo Treatment?
A pre-poo (short for “pre-shampoo”) treatment is anything you apply to your hair before shampooing — most commonly an oil, a conditioner, or a DIY mask — left on for a set period of time, then washed out. That is the entire concept. It is not a special product category with magical properties; it is a timing strategy: protect and prepare the hair first, then cleanse.
Why does timing matter? Because shampoo — even gentle, sulfate-free shampoo — does its job by lifting oil, dirt, and buildup off the hair. In the process, it also strips some of the hair’s own protective lipids and forces the strand through a stressful cycle of swelling and shrinking. On wash day, that is when most breakage happens: the hair is wet, swollen, tangled, and then combed, scrubbed, and rinsed. A pre-poo puts a buffer between your hair and that stress.
For natural, coily, and curly hair, pre-pooing is one of the highest-impact habits you can add to wash day. Natural hair is already fragile — the bends and twists in each strand are structural weak points — and it tangles more than straighter hair types, which means more combing, more pulling, and more breakage at the exact moment shampoo has made the hair most vulnerable. A good pre-poo does two jobs at once: it reduces the damage shampooing causes, and it makes detangling dramatically easier before the water and scrubbing even start.
If breakage is the reason your hair “never grows past a certain length,” a pre-poo habit addresses the actual mechanism. For the bigger picture on how breakage stalls length, see our guide on 4C hair breakage and length retention.
Why Pre-Pooing Works: Hygral Fatigue, Explained Simply
Hair damage is usually pictured as heat, bleach, or rough brushing. But there is a quieter, everyday form of damage that hits every time you wash: hygral fatigue. Here is what that means in plain language.
When hair gets wet, the strand absorbs water and swells. When it dries, it contracts back. That swelling-and-contracting cycle happens on every single wash day, and each cycle stresses the cuticle — the overlapping outer scales that protect the strand’s inner structure. Over hundreds of wash days, repeated swelling loosens and lifts those cuticle scales, cracks appear, and the hair becomes porous, rough, and breakage-prone. The damage is cumulative and invisible until it isn’t: more tangling, more frizz, ends that snap with the slightest pull.
Coily and curly hair suffers hygral fatigue faster than straighter hair, for a simple structural reason. Each bend in a curl is already a point of mechanical weakness, and water enters the strand most easily where the cuticle is lifted or stressed. More bends mean more entry points, more uneven swelling, and more stress per wash.
This is exactly what a pre-poo is designed to interrupt. An oil applied before shampooing coats the strand and slows how fast water rushes in. Less rapid swelling means less cuticle stress per wash day. It does not eliminate hygral fatigue — water still gets in — but it reduces the shock of it, wash after wash, year after year. That is the real science behind pre-pooing, and it is refreshingly un-mystical: a barrier, applied at the right time, against a real physical stress.
What the Research Actually Says (No Hype)
Most pre-poo advice online is pure anecdote. There is, however, at least one honest piece of published research worth knowing about — and it deserves to be described accurately.
In 1999, researchers Rele and Mohile published a study in the Journal of Cosmetic Science testing coconut oil, sunflower oil, and mineral oil as pre-wash treatments. Their finding: coconut oil, applied before washing, reduced protein loss from the hair during combing, and performed better than the other two oils. The likely mechanism, the authors suggested, is that coconut oil’s structure lets it get inside the hair shaft rather than just sitting on the surface. You can read the Rele & Mohile coconut-oil pre-wash study yourself.
A 2001 follow-up study on oil penetration and hygral fatigue supported this further: coconut oil penetrated the hair shaft, while mineral oil mostly did not — and the penetrating oil offered better protection against the swelling-and-drying damage described above.
Now the honest caveats, because they matter:
- These were lab studies on hair tresses, not clinical trials on people. Tresses are bundles of cut hair tested under controlled conditions. The findings are suggestive and mechanistically sensible, but they are not the same as a human trial proving your wash-day breakage will drop by a measured amount.
- Only a few oils were tested. The research does not tell us that olive oil, castor oil, or shea butter pre-poos do or don’t work — it tells us specifically about coconut oil’s penetrating behavior. Other oils may help through coating and slip even without deep penetration, but that specific claim is not what these studies tested.
- “Reduces protein loss” is not the same as “grows hair.” Protein loss during combing is a real damage pathway, and reducing it is genuinely useful — but it is one piece of wash-day damage, not the whole story.
So where does that leave us? The research supports pre-pooing as a sensible, low-risk practice with a plausible mechanism and at least some lab evidence for coconut oil specifically. It does not support miracle claims. That is the honest middle ground, and it is a good one: you don’t need hype to justify a 20-minute oil treatment that makes wash day gentler.
Honest Limits: What Pre-Pooing Cannot Do
Before the how-to, set expectations correctly. A pre-poo is a damage-reduction step, not a cure. It will not:
- Make your hair grow faster. Growth rate is set by genetics, age, health, and hormones. A pre-poo protects the length you grow; it does not change how fast your scalp produces it.
- Repair split ends. Nothing repairs split ends — no oil, mask, or treatment can fuse a split strand back together. Only a trim removes them. A pre-poo can help prevent new splits by reducing breakage, but it cannot fix existing ones.
- Replace conditioner. Pre-pooing happens before shampoo; conditioner (or deep conditioner) happens after. They do different jobs — protection going in, moisture and cuticle-smoothing coming out. Skipping conditioner because you pre-pooed leaves the job half done.
- Fix hair that is already severely damaged. If ends are fried from bleach or heat, a pre-poo won’t resurrect them. It protects healthy hair; damaged hair needs trims and time.
- Work if the rest of wash day is rough. A pre-poo cannot compensate for scalding water, aggressive scrubbing, or ripping through tangles with a fine-tooth comb. It is one part of a gentle routine, not a shield for a harsh one.
Penetrating vs. Sealing Oils: Pick the Right One
Not all oils do the same job in a pre-poo. The key distinction is whether an oil penetrates the hair shaft (gets inside, like coconut oil in the research above) or seals/coats it (sits on the surface, reducing friction and slowing water entry from the outside). Both mechanisms are useful — they just suit different hair needs.
| Oil | Penetrates or coats? | Weight | Best for |
|---|---|---|---|
| Coconut oil | Penetrates the shaft | Medium-light | High-porosity and protein-hungry hair; the most research-backed pre-poo oil |
| Olive oil | Mostly coats (partial penetration) | Medium | Dry, coarse, high-porosity hair that needs softness and slip |
| Castor oil | Mostly coats | Heavy and thick | Sealing ends; very dry high-porosity hair — use sparingly, it’s hard to wash out |
| Jojoba oil | Coats (technically a wax ester) | Light | Low-porosity and fine hair; closest to the scalp’s natural sebum |
| Sweet almond oil | Partial penetration | Light-medium | Low to medium porosity; a good middle ground for most hair types |
| Grapeseed oil | Mostly coats | Very light | Fine hair and low-porosity hair that gets weighed down easily |
| Shea butter | Coats | Heavy | Very dry, coarse, high-porosity hair — fine or low-porosity hair should usually skip it |
A practical rule of thumb: if your goal is hygral-fatigue protection, lean toward a penetrating oil like coconut or sweet almond. If your goal is slip and tangle prevention, a coating oil or butter that gives you glide — olive, jojoba, or a light layer of shea — does the job. Many people mix: coconut oil on the lengths for penetration, a dab of castor or shea just on the ends for sealing.
3 Pre-Poo Methods Compared
There are three main ways to pre-poo, and they are not interchangeable. Each has a different mechanism, different effort level, and different ideal user:
| Method | How it works | Best for | Downsides |
|---|---|---|---|
| Oil pre-poo | Oil applied to dry or damp hair 20–30 minutes before shampoo; slows water absorption and reduces protein loss | Most people; high-porosity hair; anyone fighting wash-day breakage | Easy to overdo — too much oil leaves greasy residue that needs a second shampoo |
| Conditioner pre-poo | A cheap rinse-out conditioner applied to tangled hair before shampoo; adds slip so you can detangle gently first | Very tangle-prone hair; beginners; long hair that knots easily | Offers less hygral-fatigue protection than oil; adds an extra rinse step |
| DIY mask pre-poo | A homemade blend (avocado, honey, aloe, oils) on damp hair under a cap; nourishes and softens the lengths before cleansing | Dry, dull hair that needs extra moisture and softness | Messy and time-consuming; fresh-ingredient masks must be used the same day, never overnight |
You can also combine methods: an oil pre-poo for protection, then a quick conditioner pass for slip before you shampoo. Just don’t stack so many products that shampooing becomes a project — the goal is a gentler wash day, not a longer one.
Porosity Matters: Customize Your Pre-Poo
Hair porosity — how easily your hair absorbs and loses water — changes which pre-poo approach works best. If you don’t know your porosity, the rough guide: hair that takes forever to get fully wet and dries slowly is usually low porosity (tight cuticle); hair that soaks up water instantly, frizzes easily, and dries fast is usually high porosity (raised or damaged cuticle). Most people fall somewhere in between.
Low porosity hair: go light + use heat
Low-porosity hair resists absorption — heavy oils and butters tend to sit on the surface, leaving hair greasy but not actually conditioned. Use light oils (grapeseed, jojoba, sweet almond) rather than castor or shea. Apply to damp, warm hair — mist with warm water first — and add gentle heat with a plastic shower cap (your body heat under the cap slightly lifts the cuticle and helps the oil in). Keep the timing modest: 15–25 minutes is plenty. Longer is not better here; it mostly adds residue.
High porosity hair: go heavier
High-porosity hair drinks up everything and loses it just as fast, so it benefits most from richer protection. Heavier oils and butters — olive, castor (sparingly), shea — plus the full 30 minutes under a cap work well. Coconut oil is a strong choice here too: penetrating oil inside the shaft plus the research-backed protein-loss reduction addresses exactly what porous hair struggles with. High-porosity hair can also handle overnight oil pre-poos better than low-porosity hair can, provided you follow the overnight rules below.
Fine hair (any porosity): avoid heavy butters
Fine strands get weighed down fast. A heavy castor-oil or shea-butter pre-poo can leave fine hair limp and stringy even after shampooing. Stick to light oils in small amounts — a teaspoon or two of grapeseed or jojoba distributed through the lengths is enough. If your hair is both fine and high porosity, use light oils but give them the full time under a cap; you need the protection without the weight.
Step-by-Step: How to Pre-Poo the Right Way
Here is the standard method that works for most natural hair. Total active time is about 10 minutes; the rest is waiting.
What you’ll need
- Your chosen pre-poo: 2–4 tablespoons of oil (less for fine or short hair), a palmful of cheap conditioner, or one of the DIY recipes below
- A spray bottle with lukewarm water (for the damp-hair method)
- 4–8 hair clips or bands for sectioning
- A plastic shower cap
- A wide-tooth comb or detangling brush
- An old towel or dark T-shirt to protect your clothes
The process
- Section dry or lightly damp hair into 4–8 parts. Working in sections is the single biggest difference between a pre-poo that works and one that doesn’t — it guarantees every strand gets coated. For the damp method, mist each section lightly; for dry application, skip the mist.
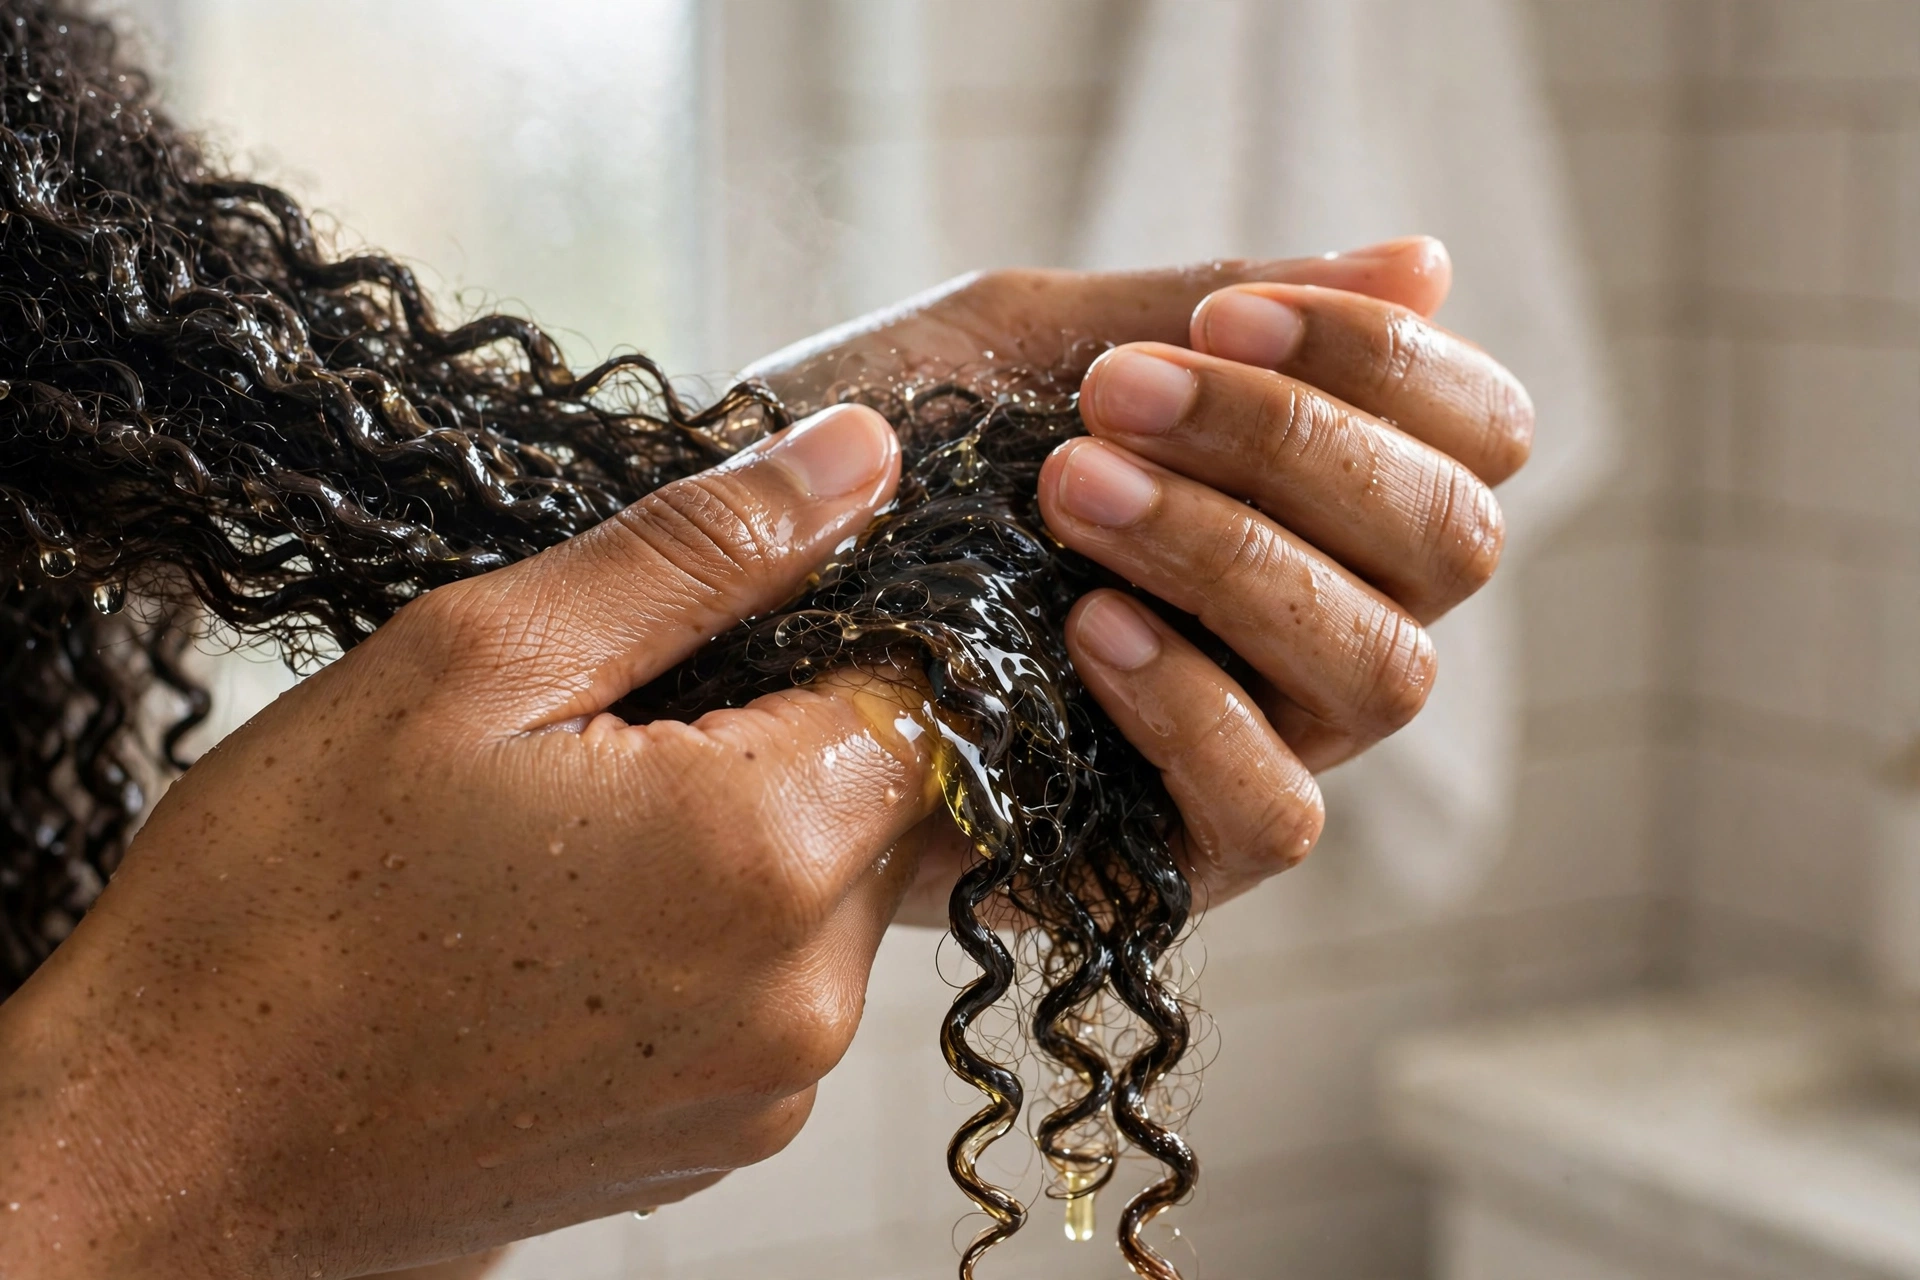
- Apply your pre-poo from mid-shaft to ends first. The oldest, most fragile hair is at the ends — it gets the product first and the most product. Work the oil, conditioner, or mask down each section with your fingers.
- Detangle gently before shampooing. This is the hidden superpower of pre-pooing: with slip from the product, you can work through tangles with a wide-tooth comb before the hair is wet, swollen, and at its weakest. Start from the ends and work upward. For a full breakdown of tangle-free technique, see our guide on how to detangle natural hair without breakage.
- Twist or braid each finished section to keep it detangled and keep the product where you put it.
- Cover with a shower cap and wait 20–30 minutes. The cap traps body heat, which helps oils absorb — especially important for low-porosity hair. Use the waiting time productively; this is not a step to rush.
- Shampoo as normal — but adjust. Rinse the pre-poo out with lukewarm water first, then shampoo. You will likely find you need less shampoo than usual because the hair is already detangled and partially cleansed of surface buildup. One thorough shampoo is usually enough after an oil pre-poo; if hair still feels coated, do a second, lighter lather rather than scrubbing harder.
- Condition afterward, always. Pre-pooing does not replace conditioner. Follow with your regular conditioner or deep conditioner, then continue with your normal moisturizing routine.
How long should you leave it on?
20–30 minutes is the standard and is enough for the vast majority of hair. Longer is not meaningfully better for most people — oil absorption plateaus, and extra hours mainly add inconvenience.
Overnight pre-pooing is popular, but follow strict rules: use a light oil only (coconut, jojoba, grapeseed — never a heavy butter or a fresh-ingredient mask), protect your pillowcase with a shower cap plus a scarf or old pillowcase, and do it on the lengths, not the scalp, especially if your scalp is sensitive or breakout-prone. Fresh-ingredient masks (avocado, banana, egg, yogurt) must never be left overnight — they can spoil, ferment, and irritate the skin. If you wake up itchy or with scalp bumps after an overnight oil, go back to the 30-minute version.
Dry vs. damp hair: which is better?
Both work, with a slight edge to lightly damp for most people. Damp (not dripping) hair is more pliable, sections separate more easily, and product distributes more evenly. Dry application is perfectly fine too — it is the traditional way, and it is more convenient for overnight pre-poos. The one thing to avoid is soaking wet hair: water and oil don’t mix, and a saturated strand blocks oil from reaching the cuticle, defeating the purpose.
Scalp: the do’s and don’ts
- Do keep heavy masks, butters, and thick oils on the lengths and ends. The scalp’s job on wash day is to get clean; coating it beforehand just gives shampoo more work.
- Do use a light oil (jojoba is the classic choice) on the scalp if you like a pre-wash scalp massage — then shampoo thoroughly.
- Don’t pile castor oil, shea butter, or DIY masks onto the scalp. For some people, heavy oils on the scalp clog follicles and trigger itching, bumps, or breakouts — especially overnight.
- Don’t pre-poo the scalp if you have seborrheic dermatitis, heavy dandruff, or an irritated scalp. Treat the scalp condition first; protect the lengths in the meantime.
How Often Should You Pre-Poo?
Match frequency to how often you shampoo: pre-poo on every wash day you use shampoo. If you shampoo weekly, pre-poo weekly. If you shampoo twice a week, pre-poo both times — the 20 minutes is worth it because shampoo is the step that causes the damage you’re guarding against.
What if you co-wash between shampoos? You don’t need a full pre-poo before every co-wash. Co-washing (washing with conditioner instead of shampoo) is already much gentler — there is no harsh cleansing step to buffer against. Save the pre-poo for your actual shampoo days. If you co-wash most of the time and shampoo once a month, pre-poo that once-a-month wash, since clarifying or monthly shampoos tend to be the most stripping.
Can you pre-poo too often? Yes, in one specific way: over-moisturizing. If you pre-poo with rich masks every few days and deep condition every time and layer leave-ins, hair can tip into moisture overload (more on the warning signs in the troubleshooting section). Balance is the whole game: protect before washing, moisturize after, and add protein periodically if your hair starts feeling mushy.
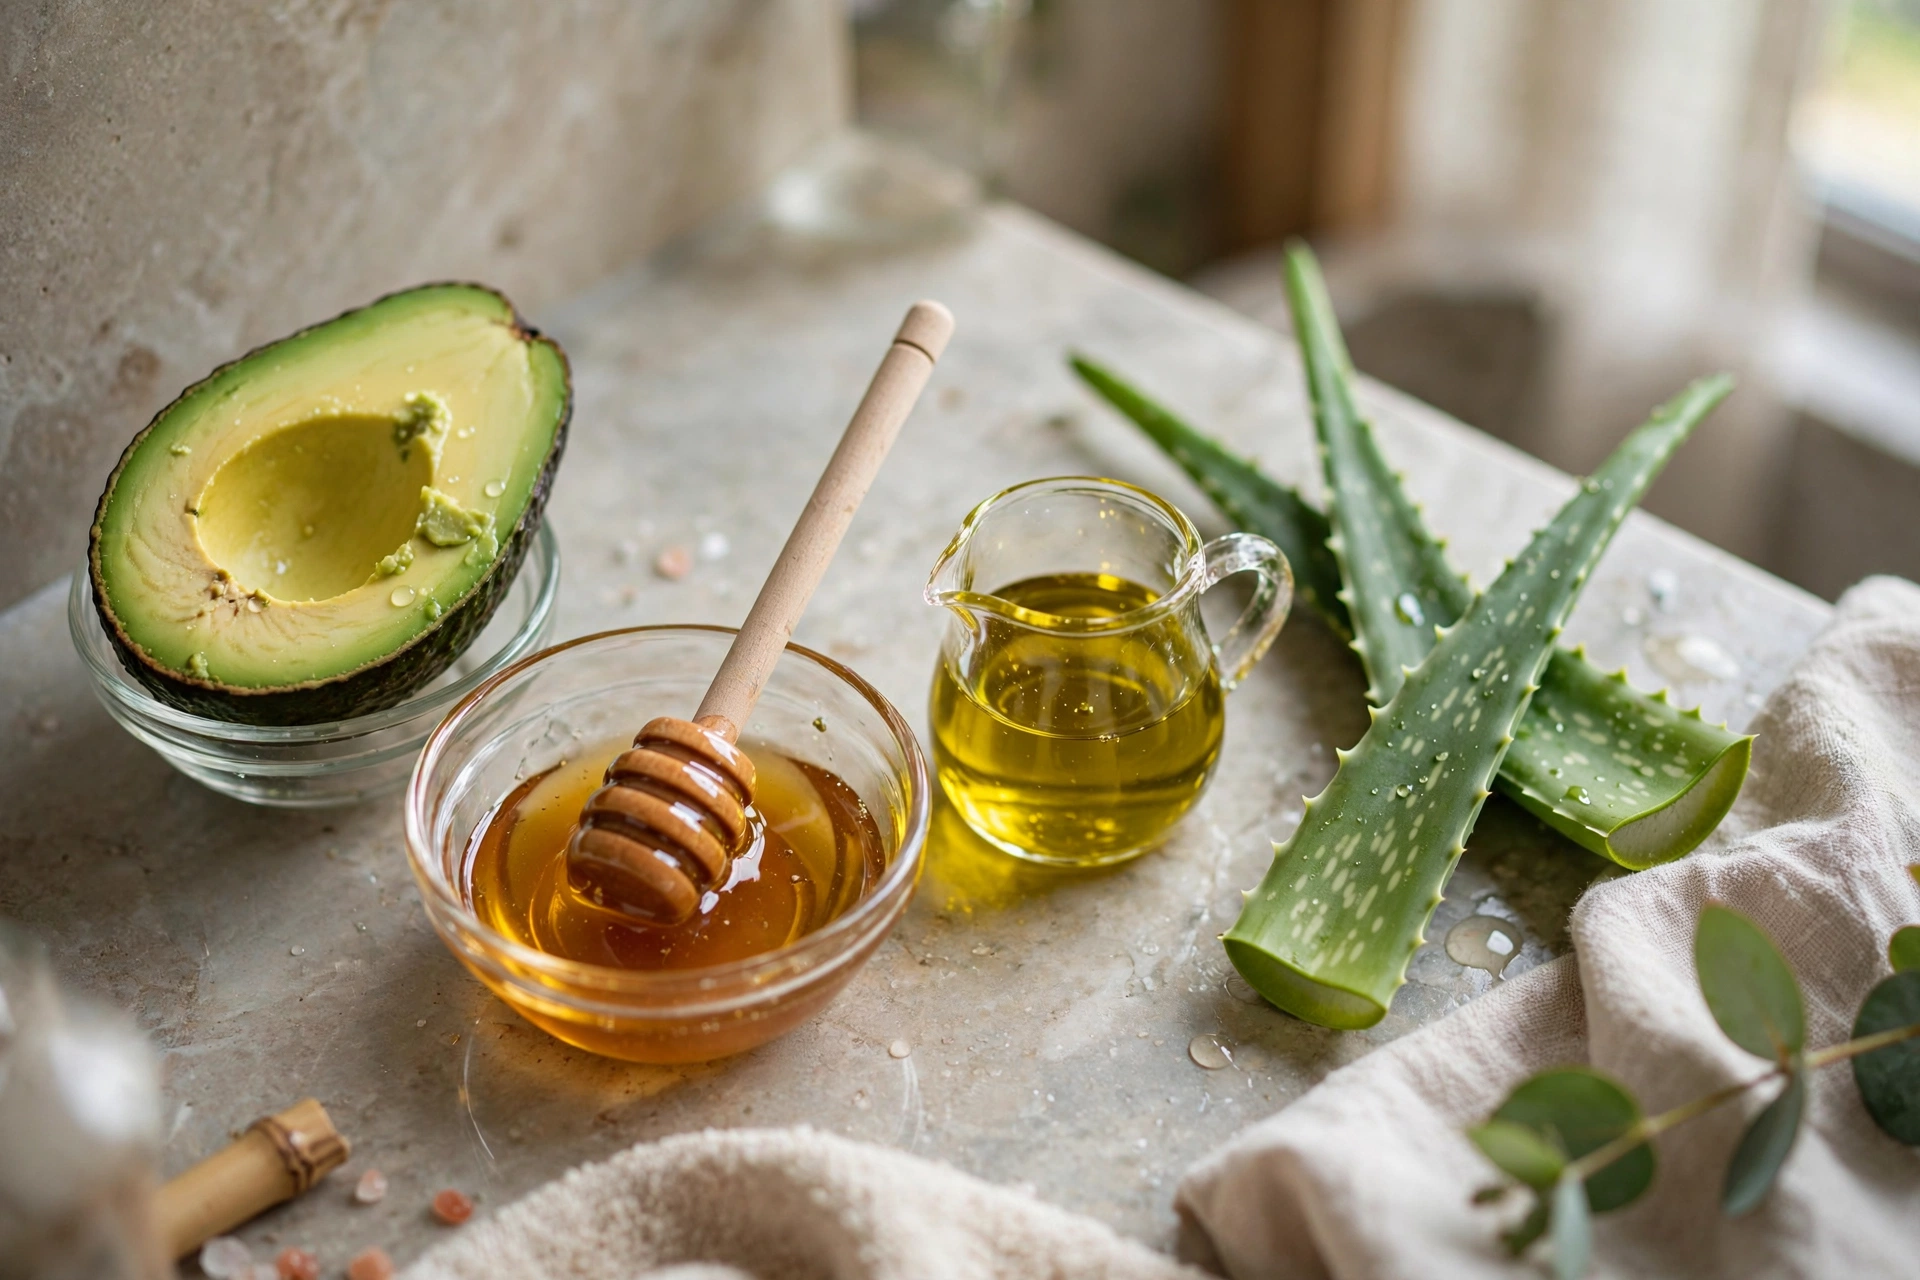
3 DIY Pre-Poo Recipes (With Real Measurements)
Store-bought pre-poo products exist, but the DIY versions are cheaper, simpler, and — honestly — just as effective for most people. Make these fresh and use them the same day.
Recipe 1: Classic Warm Coconut Oil Pre-Poo
The simplest, most research-backed option. Best for: all hair types, especially high-porosity hair.
- 2–3 tablespoons virgin coconut oil (4 tablespoons for very long or thick hair; 1–2 for fine hair)
- Optional: 3–4 drops of rosemary or peppermint essential oil for scent (skip if your scalp is sensitive)
Method: Warm the oil gently — rub it between your palms or place the bowl in warm water for a minute. It should feel comfortably warm, never hot. Apply to dry or lightly damp hair in sections, mid-shaft to ends, massaging each section for 30 seconds. Cover with a shower cap, wait 20–30 minutes, then shampoo out. This is the method closest to what the published research actually tested.
Recipe 2: Avocado, Honey & Olive Oil Conditioning Pre-Poo
A richer mask for dry, dull hair that needs softness and slip. Best for: medium to high porosity, coarse or dry hair. Same-day use only — never overnight.
- 1 ripe avocado, mashed completely smooth (lumps are miserable to rinse out — blend it if you can)
- 2 tablespoons raw honey
- 2 tablespoons olive oil
Method: Mix into a smooth, thick cream. Apply to damp hair in sections, lengths and ends only — keep it off the scalp. Cover with a shower cap and leave for 20–30 minutes. Rinse thoroughly with lukewarm water before shampooing (this gets the bulk of the avocado out), then shampoo normally. The honey is a humectant — it draws moisture in — and the olive oil gives slip; together they leave hair noticeably softer going into the shampoo step.
Recipe 3: Aloe Vera + Light Oil Pre-Poo (for Low Porosity)
Lightweight and non-greasy. Best for: low-porosity and fine hair that hates heavy oils.
- 3 tablespoons pure aloe vera gel (no added alcohol or fragrance)
- 1 tablespoon jojoba oil or grapeseed oil
Method: Whisk the gel and oil together until combined — it won’t fully emulsify, and that’s fine. Apply to damp, warm hair (mist with warm water first) in sections. Cover with a shower cap for 15–20 minutes; the trapped warmth helps low-porosity cuticles accept the treatment. Rinse, then shampoo. Aloe brings water-based hydration without weight, and the light oil seals just enough to slow wash-day swelling.
Storage note for all three: fresh-ingredient masks (recipes 2 and 3) must be used immediately and never stored — they contain no preservatives. Plain oil (recipe 1) keeps indefinitely at room temperature; mix only what you’ll use.
Troubleshooting: When Pre-Pooing Goes Wrong
Pre-pooing is low-risk, but three problems come up repeatedly. All three are fixable.
1. Greasy residue after shampooing
What it looks like: hair feels coated, heavy, or stringy even after shampooing; roots look oily on day one.
Why it happens: too much product (the most common cause), an oil that’s too heavy for your hair (castor or shea on fine hair), or a shampoo that’s too gentle to cut through the layer you applied.
The fix: use less next time — start with half the amount and add only if hair still feels dry going in. Switch to a lighter oil. And don’t be afraid of a second shampoo lather: two gentle lathers clean better than one aggressive scrub. If residue persists across washes, do one clarifying wash to reset, then restart with a lighter hand.
2. Scalp breakouts, itching, or bumps
What it looks like: itchy scalp, small pimples along the hairline, or increased flaking after pre-pooing — especially after overnight treatments.
Why it happens: heavy oils or masks sitting on the scalp, particularly overnight, can clog follicles and feed the yeast associated with dandruff in susceptible people. Fragranced or essential-oil-heavy blends can irritate sensitive scalps.
The fix: keep all pre-poo products on the lengths and ends, at least an inch away from the scalp. Drop overnight pre-poos in favor of the 20–30 minute version. Skip essential oils if your scalp is reactive. If bumps or itching persist after you stop putting product on the scalp, see a dermatologist — that may be a scalp condition, not a pre-poo problem.
3. Moisture overload (hygral fatigue’s sneaky cousin)
What it looks like: hair feels mushy or gummy when wet, stretches excessively without springing back, looks limp, won’t hold a curl or twist, and breaks anyway — the classic sign that the problem isn’t dryness but too much moisture.
Why it happens: pre-pooing frequently with rich masks plus deep conditioning every wash plus heavy leave-ins can push hair past the point where more moisture helps. Remember: pre-pooing reduces hygral fatigue, but drowning already-soft hair in moisture every few days creates a different imbalance.
The fix: pause the rich masks and switch to a simple light-oil pre-poo (or skip pre-poo for one wash), clarify once, and add a protein treatment — hair needs protein-moisture balance, not moisture alone. When elasticity returns to normal, resume pre-pooing at a saner frequency.
For general guidance on telling breakage causes apart and building a balanced routine, Healthline’s hair-breakage prevention overview is a solid reference.
Pre-Poo vs. Hot Oil Treatment: What’s the Difference?
These get confused constantly, so here is the clean distinction: a pre-poo happens before shampoo and its job is protection — reducing the damage the wash itself causes. A hot oil treatment happens after shampoo (or as a standalone conditioning step) and its job is conditioning — adding softness, shine, and moisture to already-clean hair.
They are complementary, not competitors. A thorough wash-day routine can honestly include both: pre-poo before shampoo to protect, hot oil treatment after to condition. If you only have time for one, choose based on your bigger problem — breakage during washing (pre-poo) or dryness after washing (hot oil). For the full method, see our guide to hot oil treatments for natural hair.
Frequently Asked Questions
Is pre-pooing necessary, or just extra work?
It’s not mandatory — plenty of people have healthy hair without it. But if you shampoo regularly, have coily or curly hair, and notice breakage, tangling, or dryness after wash day, a pre-poo is one of the highest-return 20 minutes in hair care. Think of it as insurance for your most vulnerable moment, not a compulsory ritual.
Can I pre-poo with just conditioner?
Yes. A conditioner pre-poo is excellent for detangling — apply a cheap rinse-out conditioner to dry or damp tangled hair, detangle gently, then shampoo. It gives less hygral-fatigue protection than oil, but for tangle-prone hair the detangling benefit alone is worth it.
Should I pre-poo on dry or damp hair?
Lightly damp is ideal for most people — hair is pliable and product distributes evenly. Dry is fine and more convenient, especially overnight. Avoid soaking wet hair, which blocks oil absorption. For conditioner or mask pre-poos, damp hair works noticeably better.
How long should I leave a pre-poo on?
20–30 minutes under a shower cap is the standard and is enough for almost everyone. Overnight is an option for light oils only — never for fresh-ingredient masks — with your pillowcase protected and product kept off the scalp.
Do I still need to pre-poo if I co-wash?
Not before every co-wash. Co-washing is already gentle, so there’s no harsh cleansing step to buffer against. Save the pre-poo for your actual shampoo days, when the hair faces real stripping and swelling stress.
Can pre-pooing cause buildup?
It can if you overdo it — heavy oils and butters used generously every wash can accumulate, especially on low-porosity or fine hair. Use the minimum effective amount, shampoo thoroughly, and clarify every few weeks if you pre-poo regularly. Buildup is a dosing problem, not a pre-poo problem.
Is coconut oil bad for low-porosity hair as a pre-poo?
Not bad, just often unnecessary. Low-porosity hair doesn’t absorb much, so coconut oil’s penetrating advantage is partly wasted and the residue can feel greasy. Lighter oils (grapeseed, jojoba, sweet almond) on warm, damp hair under a cap usually give low-porosity hair better results with less residue.
Can I pre-poo the night before wash day every week?
You can, with the overnight rules: light oil only, shower cap plus scarf, pillowcase protected, product on the lengths — not the scalp. If you notice scalp itching, bumps, or greasy roots that won’t shampoo clean, switch back to the 20–30 minute version. Weekly overnight oiling is a long-standing traditional practice, but tradition doesn’t override your scalp’s feedback.
The Bottom Line
Pre-pooing is one of the rare hair-care practices that is simple, cheap, low-risk, and backed by a sensible mechanism: an oil barrier before shampooing reduces the swelling stress and protein loss that make wash day the most damaging part of your routine. It won’t grow your hair faster or fix split ends — but if breakage is eating your length, 20 minutes with coconut oil and a shower cap before every shampoo is one of the most honest investments you can make. Start with the classic oil method, adjust for your porosity, keep product off your scalp, and always condition afterward. For more hype-free natural hair care, explore the rest of PickHonestly.
Disclaimer: This article is for informational purposes only and is not medical advice. The studies referenced were laboratory research on hair tresses, not clinical trials. If you have a scalp condition, significant hair loss, or concerns about hair thinning, consult a board-certified dermatologist. Patch-test new oils or ingredients before full application.