
Protective Styles for Natural Hair: 10 Styles Compared + Complete Care Guide (2026)
Protective Styles for Natural Hair: 10 Styles Compared + Complete Care Guide (2026)
Protective styles for natural hair are one of the most effective tools for length retention — but only when they’re installed, maintained, and removed the right way. A braid that’s too tight, kept in too long, or ripped out during takedown can do more damage than a month of daily styling.
This guide compares the 10 most popular protective styles for natural hair side by side — wear time, cost, install time, and edge risk — then walks you through everything the ranking articles gloss over: how to prepare your hair before install, how to care for it while it’s tucked away, how to take it down without breakage, and how to spot the early warning signs of traction alopecia.
What Makes a Style Truly Protective?
Not every style that looks “protective” actually protects your hair. A style earns the label when it:
- Tucks the ends away — your ends are the oldest and most fragile part of each strand, and shielding them from friction is the single biggest protective action.
- Minimizes daily manipulation — no combing, brushing, or restyling every day.
- Stays low-tension at the root — especially around the hairline. Pain is never normal.
- Allows scalp access — you still need to cleanse and moisturize your scalp for weeks at a time.
- Doesn’t add excessive weight — heavy extensions pull on follicles all day, every day.
Healthline’s medically reviewed guide to protective hairstyles lays out these same principles, and dermatologists who study African-American hair care emphasize the same point: a protective style is defined by what it does for your hair, not just how it looks.
The 10 Best Protective Styles for Natural Hair, Compared
Here is every style in this guide at a glance — so you can compare wear time, cost, and risk before committing to one.
| Style | Wear Time | Install Time | Typical Cost | DIY Difficulty | Edge Risk | Best For |
|---|---|---|---|---|---|---|
| Box braids | 4–6 weeks | 4–8 hours | $150–$300+ | Hard | Medium–High | Long-lasting, versatile wear |
| Knotless braids | 4–8 weeks | 5–8 hours | $200+ | Very hard | Low–Medium | Fragile edges, comfort-first wearers |
| Two-strand twists | 2–4 weeks | 1–3 hours | Free–$80 | Easy | Low | Beginners, DIY, low-tension needs |
| Flat twists | 1–2 weeks | 30–90 min | Free–$50 | Medium | Low | Edge-friendly styling, under wigs |
| Cornrows | 2–4 weeks | 1–3 hours | $60–$150 | Medium | Medium | Active lifestyles, base for wigs/crochet |
| Bantu knots | 1–2 weeks | 30–60 min | Free | Easy | Low | Heatless curls, short-to-medium hair |
| Faux locs | 4–6 weeks | 4–7 hours | $150–$250 | Hard | Medium | Long-term low maintenance |
| Crochet styles | 3–6 weeks | 1–3 hours | $50–$150 | Medium | Low | Full looks without heavy braiding |
| Sew-in weaves | 6–8 weeks | 2–4 hours | $150–$400+ | Hard | Medium | Full coverage, styling freedom |
| Wigs | Reset weekly | 20–60 min | $30–$500+ | Easy | Low | Zero manipulation, max versatility |
Costs and times are US averages and vary by city, stylist, and hair length. What matters most for hair health is tension, weight, and maintenance — not price.
1. Box Braids
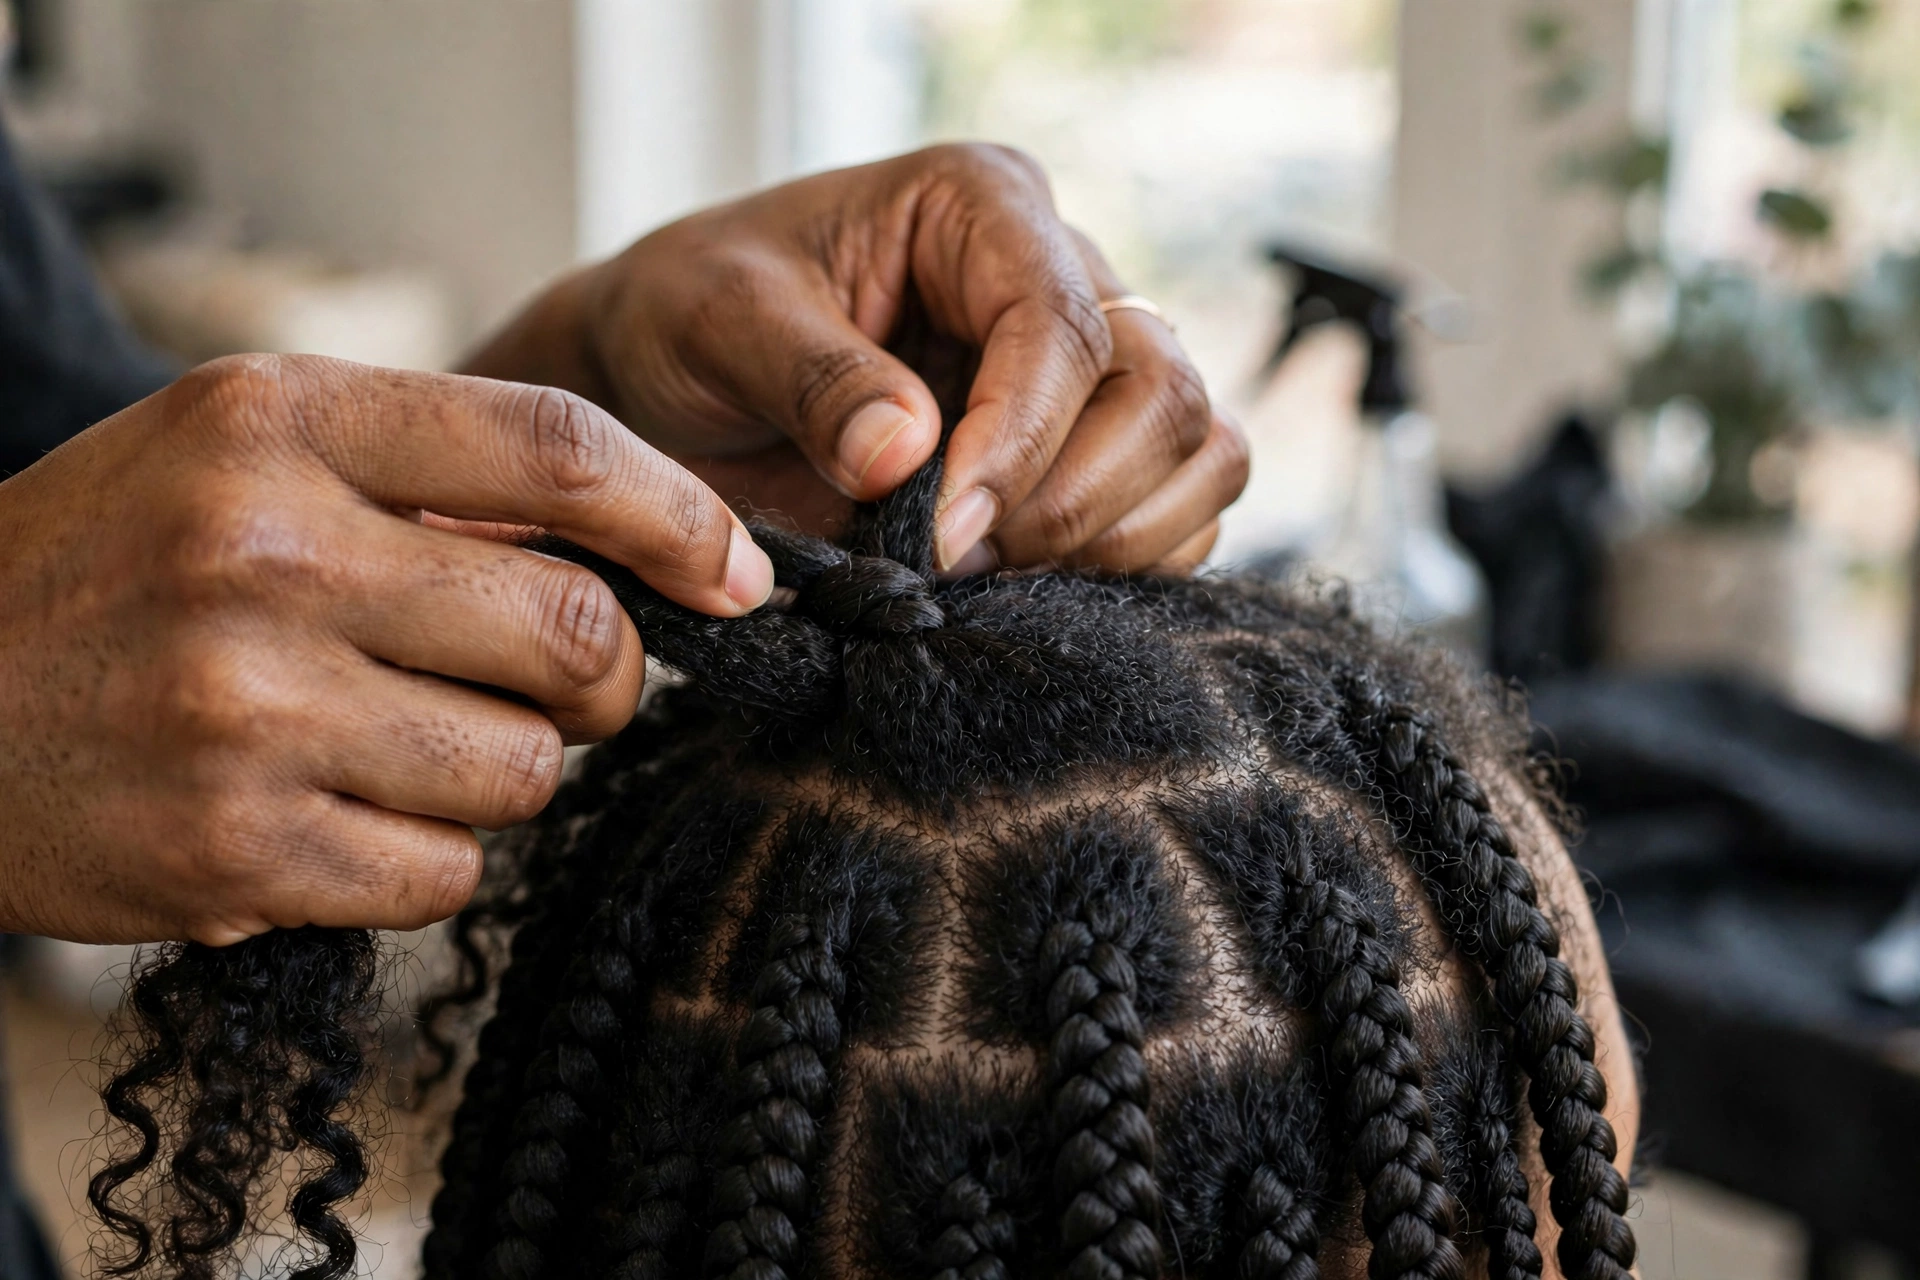
The classic. Individual plaits sectioned into square parts, usually installed with extensions for length and fullness.
Pros: extremely versatile (buns, ponytails, half-up styles), long wear time, low daily maintenance.
Cons: the traditional knotted base concentrates tension at the root — the main driver of edge breakage and traction alopecia, which researchers identify as largely reversible only in its early stages. Heavy, long installs strain follicles for weeks.
Maintenance: cleanse the scalp with diluted shampoo every 1–2 weeks, moisturize along the parts every few days, and take them down by week 6 at the latest.
2. Knotless Braids
A gentler evolution of box braids: the install starts with your own hair and extensions are fed in gradually, so there’s no tight knot at the root.
Pros: significantly less tension on the hairline, lighter feel, more natural-looking roots.
Cons: takes longer to install, costs more, and the looser base can frizz faster on very active wearers.
Best for: anyone with fragile or thinning edges who still wants the box-braid look.
3. Two-Strand Twists
Two sections of hair twisted around each other — the simplest true protective style, and the best starting point for beginners.
Pros: genuinely low tension, easy to install and remove yourself, doubles as a twist-out set when unraveled.
Cons: unravels faster than braids (especially on silkier textures), shorter wear time.
Maintenance: mist with water and seal with a light oil or cream every 2–3 days; sleep in a satin bonnet. A good leave-in conditioner makes the twists smoother and longer-lasting.
4. Flat Twists
Twists braided flat against the scalp — like cornrows, but made with two strands instead of three.
Pros: edge-friendly, quick, and an excellent flat base under wigs and crochet styles.
Cons: shorter wear time; the exposed scalp between twists needs regular moisturizing.
5. Cornrows
Straight or curved rows braided close to the scalp. A staple with deep cultural roots and endless styling options.
Pros: low-maintenance once installed, great for workouts and active lifestyles, ideal foundation for wigs, weaves, and crochet.
Cons: tight cornrows — especially small ones along the hairline — are a top cause of traction alopecia. Never accept pain during installation.
6. Bantu Knots
Small coiled knots formed by twisting sections of hair and wrapping them into buns. They double as a heatless curl method when unraveled.
Pros: completely free, fast, zero extensions needed, and the unravel gives defined curls without heat.
Cons: don’t twist too tightly at the base; short wear time as a style.
7. Faux Locs
Extensions wrapped around your own hair to mimic real locs — six weeks of near-zero daily manipulation.
Pros: very long wear, distinctive look, almost no daily styling needed.
Cons: heavy installs are a documented traction-alopecia risk; choose lightweight extension hair. Removal past week 6 can mat new growth into the wrap and turn takedown into a breakage event.
8. Crochet Styles
Pre-looped extension hair threaded through cornrows with a crochet hook — fast to install, with full, voluminous results.
Pros: quicker and lighter than traditional braiding, easy to refresh, wide range of textures.
Cons: the cornrow base still needs care; wash the scalp gently with diluted shampoo and avoid piling on heavy synthetic hair.
9. Sew-In Weaves
Extension bundles sewn into cornrows — maximum styling freedom while your real hair stays completely tucked away.
Pros: full coverage, natural-looking length and volume, your own hair gets a complete break.
Cons: tight braid-downs and heavy bundles stress follicles. Dermatologists recommend removing weaves and extensions after 6–8 weeks, then giving the scalp a real break before the next install.
10. Wigs
Full coverage from root to tip — arguably the most protective option of all, because your real hair gets zero manipulation.
Pros: total versatility, easy wash days (just remove it), no install tension at all.
Cons: only protective if the hair underneath is properly braided or twisted, the wig cap is breathable (satin-lined caps beat cotton/nylon ones that rub the hairline), and you still cleanse and moisturize your scalp regularly. Glue and adhesives used carelessly can rip out edges.
What Protective Styles Can’t Do
Honesty first: protective styles do not make your hair grow faster. Hair grows at roughly half an inch per month regardless of what’s on your head. What protective styles do is create the conditions for length retention — less breakage, fewer split ends, protected ends — so the growth you already produce actually stays on your head and becomes visible.
They also can’t fix an unhealthy scalp, repair split ends, or compensate for a style that’s installed too tight or left in too long. A protective style is a strategy, not a magic fix — the care behind it is what produces results.
How to Prepare Your Hair Before Installing a Protective Style
A protective style built on dry, unbalanced hair will come out worse than it went in. The prep work is what separates retention from regret.
Step 1: Clarify and cleanse
Start with a clean scalp. Use a clarifying or sulfate-free shampoo to remove buildup — product residue trapped under braids for six weeks feeds itchiness and scalp inflammation. If you have hard water issues, address them first; mineral buildup and protective styles are a bad combination (see our guide to hard water hair damage).
Step 2: Check your protein–moisture balance
Do the strand test: stretch a wet strand. If it snaps immediately, your hair needs moisture; if it stretches excessively and feels gummy, it needs protein. Installing a long-term style on unbalanced hair locks in the problem for weeks. Our protein treatment guide walks through this in detail.
Step 3: Deep condition
Deep condition on freshly washed hair before every install. Hair going into braids or twists slightly under-moisturized will be severely dry at takedown. See our deep conditioner picks for natural hair.
Step 4: Trim or dust the ends
Split ends tucked into a style keep splitting upward for weeks. A light dusting before install protects the ends you’re trying to save.
Step 5: Stretch and fully dry
Install on stretched, completely dry hair — stretched hair braids cleaner, tangles less, and dries faster if it gets wet. Never install a long-term style on soaking-wet hair; trapped moisture breeds mildew odor and scalp issues.
How to Care for Your Hair Inside a Protective Style
The biggest myth about protective styles is that your hair needs nothing while it’s tucked away. Neglect during the style is the #1 reason people take braids down to drier, thinner hair.
- Cleanse the scalp every 1–2 weeks. Dilute shampoo with water (about 1:3) in an applicator bottle, apply directly along the parts, massage gently with your fingertips, and rinse. Don’t scrub vigorously.
- Moisturize every 2–3 days. Mist the braids or twists with water, then seal with a light oil (jojoba, grapeseed, or argan — not heavy butters that trap lint). Our moisture guide covers the LOC/LCO layering method in detail.
- Oil the scalp 2–3 times a week if it’s dry or itchy — but distinguish normal tightness from a dirty scalp that actually needs washing.
- Protect it every night. A satin bonnet or silk scarf is non-negotiable; cotton pillowcases wick moisture out and create frizz that ages the style fast.
- Don’t refresh with heavy products. Piling gels and edge control on top of weeks-old buildup clogs follicles and causes the tenderness that forces early removal.
How to Take Down a Protective Style Without Breakage

Takedown is the most dangerous part of the whole process — and the part almost nobody writes about. Hair that’s been tucked away for weeks sheds normally (we lose around 100–150 strands a day), so expect a lot of shed hair in the sink. That’s normal, not breakage. The goal is to remove the style without snapping the live hair along with the shed hair.
Step 1: Work in small sections, one at a time
Don’t unravel the whole head at once. Take down one braid or twist at a time so the freed hair doesn’t tangle with the rest.
Step 2: Saturate each section with water and conditioner
Before you detangle anything, soak the freed section and load it with a slippery conditioner. Dry detangling after a protective style is how breakage happens.
Step 3: Finger-detangle first, then use a wide-tooth comb
Gently separate shed hair with your fingers, working from ends to roots. Only then bring in a wide-tooth comb. Our full method is in how to detangle natural hair without breakage.
Step 4: Shampoo, deep condition, and rest
After full takedown, clarify to remove weeks of buildup, deep condition, and give your hair at least a few days — ideally 1–2 weeks — of rest before the next install.
Traction Alopecia: The Real Risk and How to Avoid It
Traction alopecia — hair loss from sustained pulling on the follicle — is the most serious risk of protective styling, and it’s largely preventable. Dermatologists who reviewed African-American hairstyling practices (Journal of the American Academy of Dermatology, 2016) found that:
- Braided styles should stay in no longer than 2–3 months at the absolute maximum.
- Weaves and extensions should be removed after 6–8 weeks, with a break before reinstalling.
- Early-stage traction alopecia is reversible — but prolonged tension causes permanent hairline thinning.
- The first line of treatment is simply loosening the style.
Warning signs to take down a style immediately: persistent pain or tenderness, small bumps along the hairline, headaches after installation, thinning edges, or excessive shedding at the roots. The American Academy of Dermatology’s everyday-care tips for Black hair echo the same guidance: if a style hurts, it’s too tight — full stop.
The Best Low-Tension Styles for Fragile Edges
If your edges are thinning or fragile, your safest options are two-strand twists, flat twists, loose knotless braids, and wigs over loosely braided hair — all place minimal tension on the hairline. Medium-sized sections distribute weight better than tiny ones, and knowing your hair’s porosity helps you pick the right moisturizing products to keep fragile areas supple. Rotate your parting patterns between installs so the same follicles aren’t stressed every time.
How Long to Keep Each Style (and When to Rest)
| Style | Safe Wear Window | Rest Before Next Install |
|---|---|---|
| Box braids / knotless braids | 4–6 weeks (8 max) | 1–2 weeks |
| Two-strand twists | 2–4 weeks | A few days |
| Cornrows / flat twists | 2–4 weeks | 1 week |
| Faux locs | 4–6 weeks | 1–2 weeks |
| Crochet styles | 3–6 weeks | 1 week |
| Sew-in weaves | 6–8 weeks | 2+ weeks |
| Wigs (glued) | 1–2 weeks per install | Regular glue-free breaks |
| Bantu knots / updos | Reset every few days | None needed |
Use rest periods productively: deep condition, dust the ends, and check in with your scalp. Our 4C hair care routine guide lays out a full wash-day sequence that works perfectly as a between-styles reset.
5 Mistakes That Turn Protective Styles Into Damage
- Installing too tight. “It’ll loosen up” is how edges are lost. Pain at install = take it down.
- Skipping scalp washes. Six weeks of buildup clogs follicles and causes the itching and tenderness that forces early removal.
- Choosing heavy extensions. Lightweight hair costs a little more and saves your follicles. Weight is a 24/7 load.
- Keeping styles in too long. Past 8 weeks, new growth mats against the extension base and takedown becomes a breakage event.
- Skipping rest between installs. Back-to-back installs with no recovery time weaken the hairline cumulatively — the damage shows up months later.
Frequently Asked Questions
Are wigs protective styles?
Yes — if the hair underneath is braided or twisted (not left loose and matted), the wig cap is breathable and satin-lined, and you still cleanse and moisturize your scalp. A wig over neglected hair is just hiding the problem.
Do protective styles make hair grow faster?
No. Hair grows about half an inch per month no matter what’s on your head. Protective styles help you retain that growth by reducing breakage — which is what makes length visible over time.
How long should I keep box braids in?
Four to six weeks is the sweet spot; eight weeks is the maximum. Dermatologists advise removing braided styles by 2–3 months at the latest, but most stylists and wearers find 4–6 weeks is where hair health and style freshness overlap.
Can I wash my hair with braids in?
Yes — and you should. Every 1–2 weeks, apply diluted shampoo directly to the scalp along the parts, massage gently with your fingertips, and rinse thoroughly. Only washing “when it itches” means you’ve waited too long.
What is the least damaging protective style?
Two-strand twists and wigs worn over loosely braided hair are the lowest-tension options. Knotless braids are the gentlest braided choice. The least damaging style overall is the one installed loosely, kept clean, and removed on time.
Are protective styles good for 4C hair?
Yes — 4C hair’s density actually grips braids and twists well, often extending wear time. The same rules apply though: prep with moisture, keep tension low, and don’t exceed the wear windows above. See our guide to the best products for 4C natural hair.
Can protective styles damage natural hair?
They can, when they’re too tight, too heavy, kept in too long, or neglected underneath. The damage almost always comes from the execution, not the style itself.
How do I protect my edges in a protective style?
Choose low-tension styles (twists, knotless braids, wigs), keep sections medium-sized rather than tiny, never accept pain at install, moisturize the hairline regularly, and rotate your part between installs.
Disclaimer: This article is for general hair-care information only and isn’t medical advice. Traction alopecia and scalp conditions should be evaluated by a dermatologist — early treatment makes a real difference, so don’t wait if you’re seeing thinning, bumps, or persistent tenderness.